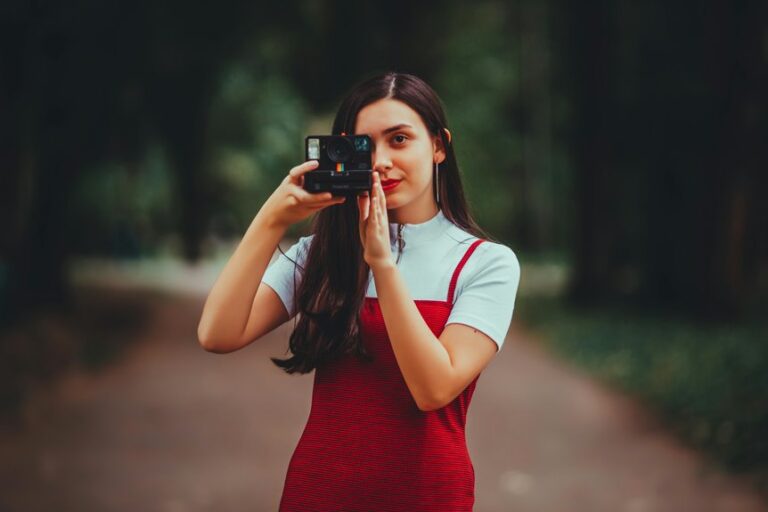
Want better photos fast? Start with aperture priority to control how much stays sharp. Keep ISO low for cleaner images. Match shutter speed to the motion in front of you, and use white balance plus exposure compensation to manage color and brightness. Once these settings work together, your camera feels much easier to use.
Start With the Best Camera Mode
In case you’re just starting out, AV mode is usually the best camera mode to learn initially because it gives you real control without overwhelming you. You choose the aperture, and your camera handles the shutter speed, so you can focus on making photos you’re proud to share.
These camera modes help you grow fast because you’re not stuck guessing. Try these beginner settings: start around f/5.6, then move to f/2.8 for soft portrait backgrounds or f/8 for sharper group shots. Should you be shooting food or details, f/4.0 can work well too.
As you practice, you’ll notice how small changes affect light and depth. That’s how you start feeling at home with your camera, one click at a time.
Choose the Right File Format
Once you choose a file format, you’re really deciding how much flexibility you want after the shot. RAW keeps more detail and gives you more room to fix exposure and color, while JPEG is smaller and easier to share right away.
In case you’re just starting out, you can use JPEG for quick photos, then switch to RAW once you want more control and better edits.
Raw Vs JPEG
Which file format should you choose initially, RAW or JPEG?
In case you want more room to shape your photos later, RAW gives you more color depth and less compression loss. That means you keep more detail in the file, which can feel like a safety net as you’re still learning.
JPEG is smaller and quicker, but it trims data to save space.
- RAW keeps more editing flexibility.
- JPEG saves storage and is easy to share.
- RAW helps whenever light or color feels tricky.
Best Format For Use
So, how do you choose the right file format without second-guessing yourself? You pick the one that matches your goal, and you keep your workflow calm. In case you want the most editing room, RAW is your best friend because it keeps rich color profiles and lighter file compression choices. Should you need quick sharing, JPEG stays small and simple. | Format | Best use |
| — | — |
|---|---|
| RAW | Maximum editing control |
| JPEG | Easy sharing and faster upload |
| TIFF | High-end printing |
| PNG | Clean graphics and text |
| HEIF | Compact modern storage |
For most beginners, RAW helps you learn, while JPEG keeps things easy. You don’t have to be perfect; you just need a format that supports your next step with confidence and a little breathing room.
When To Switch Formats
In practice, the right time to switch formats depends on what you need your photo to do next. Should you be sharing fast, JPEG keeps things light and easy, and your camera crew of one can move on quickly.
In case you plan to edit, print, or save every detail, switch to RAW so you’ve got more room to work.
- Use JPEG whenever format compatibility matters for phones, apps, or quick uploads.
- Choose RAW when you want stronger edits and cleaner recovery.
- Check storage considerations before a shoot, because RAW files fill cards faster.
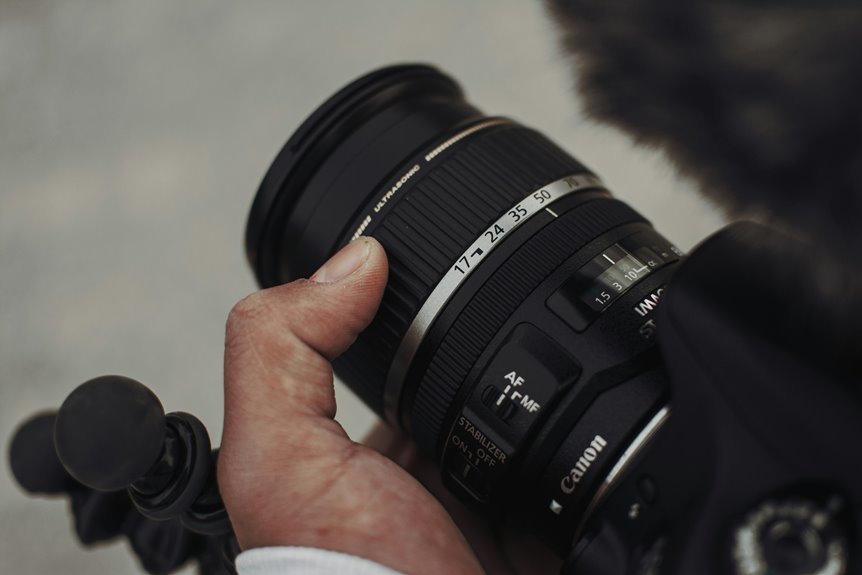
Use Aperture for Sharper Photos
During the moment you want sharper photos, aperture is one of the easiest settings to control, and it can make a big difference fast. Whenever you use aperture priority, you stay in charge of depth control while the camera handles the rest, which can feel like having a calm teammate alongside you.
Start around f/5.6 for a balanced look that keeps subjects clear and light under control. Should you be shooting a portrait, try f/2.8 for a softer background. For food or detail shots, move to f/4 or higher so more of the scene stays crisp. On a tripod, f/8 often gives you that clean, confident sharpness you want.
With a little practice, you’ll notice your photos looking tighter and more polished.
Pick a Fast Enough Shutter Speed
A fast enough shutter speed helps you freeze motion prior to it turns into blur, so your photo stays sharp and clear. In case your subject is moving, you’ll usually need a quicker shutter to match that movement, whether it’s a running child or a passing car.
Start aiming for at least 1/125 second, then go faster as the action gets livelier.
Freeze Motion
During the moment you want to freeze motion, shutter speed is the setting that matters most, because it decides how long your camera lets light hit the sensor. Whenever you keep it fast enough, you cut motion blur and help everyone in the frame look sharp.
In case you’re unsure, switch to shutter priority so you can choose the speed and let the camera handle the rest.
- Use 1/125 second or faster for active scenes.
- Raise the speed more whenever your subject is lively.
- Take a test shot, then check the preview right away.
You don’t need to guess alone. Start fast, watch the result, and adjust with confidence. That’s how you stay in control and get cleaner photos fast.
Match Movement
How fast should you set your shutter speed? You set it through matching movement, so your photo feels crisp instead of messy.
In case your subject is walking, start around 1/250. Should they’re running, try 1/500 or faster. Whenever you photograph kids, pets, or street scenes, you should anticipate action before it happens. That way, you’re ready once the moment pops.
For cars or cyclists, a panning technique can keep the subject sharp while the background blurs nicely.
Provided the scene is calm, you can slow down a bit, but keep above 1/125 to stay safe from shake. The positive news is you’re not guessing alone. With a few test shots, you’ll learn what movement needs.
Raise ISO Without Adding Noise
Raising ISO without adding too much noise starts with patience, because you don’t need to jump straight to the highest setting just to save a shot. You can raise sensor sensitivity in small steps, and your image can stay clean enough for real life and real people.
Start low, then check the light and your shutter speed initially. Should the frame still looks dark, nudge ISO up one stop. Use this simple path:
- Try ISO 100 or 200.
- Move to 400 once light fades.
- Push higher only when you must.
In case grain shows up, a little noise reduction can help, but don’t let it erase detail. You’re learning the sweet spot, and that’s where your shots start feeling like yours.
Focus on the Right Subject
Even with clean exposure, a photo can still miss the mark should your camera locks onto the wrong thing. You want the main subject to feel clear and confident, so check where the focus point lands before you press the shutter.
With selective autofocus, you can choose a face, eye, or object and keep it crisp while the rest softens. In case the scene feels tricky, switch to manual focusing and fine-tune through hand. That extra step helps during branches, glass, or busy crowds try to steal attention.
Next, move your focus point with intent, not luck. Whenever you guide focus well, your photo feels stronger, and you belong in the frame like you meant every part of it.
Set White Balance for Accurate Color
White balance helps you keep colors looking true to life, so that white looks white and skin tones don’t turn too blue or too orange.
Your camera can usually match the light around you, but different light sources, like sunlight, shade, or indoor bulbs, can change the color in a big way.
Once you learn the basics, you’ll start choosing the right white balance setting with a lot more confidence.
White Balance Basics
How do you keep your photos from looking too blue, too orange, or just plain odd? You start with white balance, and you’ll feel more in control right away. It helps your camera read color temperature, so whites stay white and skin looks natural.
Try these quick moves:
- Use Auto initially when you’re learning.
- Pick a preset whenever the scene feels warm or cool.
- Save custom presets whenever you shoot in the same place often.
That little habit can save you from fixing strange colors later.
In case you want a faster, steadier look, check the white balance before you press the shutter. Then your shots will feel cleaner, and you’ll fit right in with people who know their way around the camera.
Light Source Matching
As soon as you match your camera’s white balance to the light around you, your photos stop guessing and start looking right. You’ll feel more in control, and that matters whenever you want your images to fit in beautifully with the moment.
Initially, check the light source, because daylight, shade, and indoor bulbs all carry different color temperature. Then set the white balance preset that fits best, or dial in Kelvin if your camera allows it. Also watch lighting direction, since side light or backlight can shift how colors feel in the frame.
In case the scene changes, test again and trust your eyes. A quick preview can save skin tones, food, and flowers from looking too blue or too orange.
Use Exposure Compensation Wisely
Should your photo looks a little too dark or too bright, exposure compensation can save the shot without making you wrestle with every setting. It lets you guide image brightness fast, so you can keep your scene looking natural without losing the mood.
Whenever the camera guesses wrong, a small exposure adjustment brings you back on track.
- Turn the dial to plus whenever the scene looks dull or shadowy.
- Turn it to minus should light skin, snow, or bright walls seem washed out.
- Check the preview and nudge again in case needed.
You’re not fixing everything at once. You’re just giving your camera a gentle hint, and that’s what makes beginners feel more at home behind the lens.
Tweak Autofocus for Better Results
Exposure tweaks can fix a photo that looks a little off, but autofocus is what keeps your subject from feeling soft or missed. You’ll get better results whenever you choose focus modes that match the scene.
Use single-point focus as soon as you want one clear target, and switch to tracking as your subject moves. Then check your autofocus points, because the camera can only lock where you let it look.
In case you’re shooting a face, place the point on the eye for a stronger connection. In the event the frame feels busy, narrow the active points so the camera doesn’t wander.
Small changes like these help you feel in control, and they make your photos look more intentional, even when things happen fast.
Practice These Settings on Real Shots
Once you’ve set your camera basics, the real learning starts as you take those settings out into the world and try them on actual subjects. You’ll learn fast whenever you treat every walk, meal, or portrait like a mini lab for camera calibration.
Start with a simple scene, then check exposure, focus, and motion.
- Shoot one frame at f/5.6, ISO 400, and 1/125.
- Change only one setting, then compare the outcome.
- Try different composition techniques so you can see how light and framing work together.
If a shot feels off, don’t panic. That’s part of the club. Keep a record, review what changed, and repeat the setup in brighter or dimmer light.
With each real shot, your choices’ll feel less random and more like your own style.
Frequently Asked Questions
Which Aperture Works Best for Portraits With Blurred Backgrounds?
For portraits with a soft, out of focus background, apertures like f/2.8 or f/4.0 work especially well because they produce a stronger bokeh effect. Your subject stays sharp while the background falls away smoothly, creating a polished look.
When Should I Switch From ISO 100 to ISO 400?
You would move from ISO 100 to ISO 400 when the scene is dim and your shutter speed drops too low, or when your lens is already at its widest aperture. It is a useful next step for beginners, but noise can increase, so a few test shots are worth taking.
What Shutter Speed Prevents Blur in Handheld Shots?
To reduce blur in handheld shots, use a shutter speed of 1/125 second or faster. If your hands are steady, 1/250 second gives even better results. For moving subjects, choose an even faster speed.
Why Should I Shoot RAW Instead of JPEG?
Shoot RAW when you want the full data from the sensor, with richer color depth, finer highlight recovery, and more flexibility for exposure, white balance, and shadow adjustments in editing. The files are larger than JPEG, but that extra information gives you much more latitude to correct errors and refine the final image.
Is Adobe RGB Better Than sRGB for Beginners?
No, not usually. sRGB is the simpler choice for beginners. It is widely supported, so your colors stay predictable and your edits remain straightforward. Adobe RGB can add unnecessary complexity when you are just starting out.