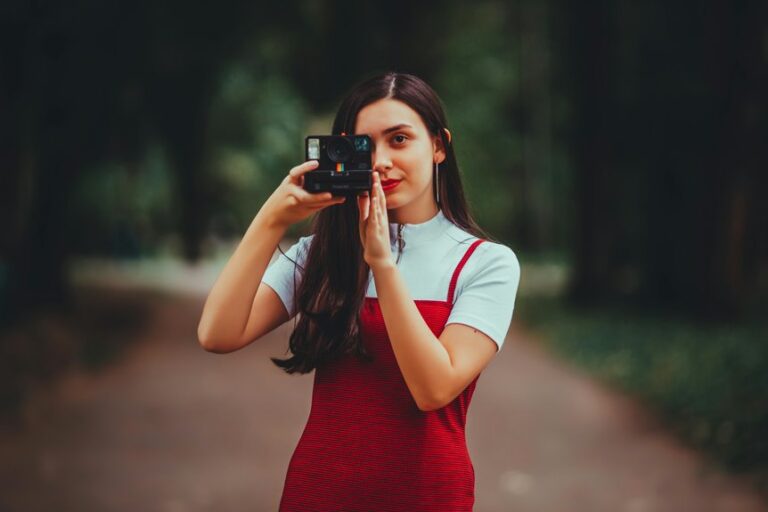
Harsh light can create bright, energetic photos, though it often causes blown highlights and heavy shadows. The fix is simple: move into open shade, expose for the brightest parts, and adjust your subject’s position. A few easy tools can soften the light and make faces look much better. Add smart timing and careful editing, and harsh sun becomes far easier to work with.
Find Open Shade for Harsh Light Photos
Start through looking for open shade, because it’s one of the easiest ways to make harsh light feel soft and flattering. You’ll often find it beside buildings, under trees, near bridges, or along covered walkways.
In these spots, your subject joins gentler light, so skin looks calmer and shadows stay kinder.
Next, check where the light still comes from. Open shade works best whenever the bright sky lights your subject from the front, not from straight above.
Then watch for natural reflectors like pale walls, sidewalks, or windows. They can lift faces and create diffused edges without extra gear.
In the absence of deep shade, place your subject with the sun behind them and use nearby open sky to shape the face. That small shift helps everyone look more at ease together.
Protect Highlights in Bright Sun
As soon as bright sun pushes your camera to its limits, protect the highlights initially, because once bright skin, clouds, or light fabric blow out, you usually can’t bring that detail back. Start from setting exposure for the brightest crucial area, then monitor histogram instead of trusting the screen alone. In case the graph climbs hard on the right edge, pull exposure down.
From there, give yourself room to edit later. You can often lift shadows, but clipped whites are gone for good. In tricky scenes with dappled light, underexpose pockets at one or two stops so the frame stays balanced.
Keep ISO low as long as you can, and aim for exposure that feels natural, not gloomy. That way, your photos still look like you belong in the moment, not like the sun won.
Reposition Your Subject to Shape Shadows
You can change harsh shadows fast just through moving your subject a few steps into open shade.
Then, use side lighting with care, because it adds shape without carving deep, distracting lines across the face. As you adjust position, watch the eyes, nose, and chin so you keep facial shadows soft, natural, and flattering.
Find Open Shade
Move your subject into open shade, and harsh light gets easier to control right away. You give skin a softer look, calm deep shadows, and keep everyone feeling confident in front of your camera.
Good shade placement matters, so look for the edge of a building, tree, porch, or bridge where the light stays bright but indirect.
From there, check what still lights the face. Open shade works best whenever your subject faces the widest, brightest part of the sky, not a dark wall. That keeps eyes lively and tones even.
Also watch shaded backgrounds, because they help your subject stand out without squinting or shiny hotspots.
Should you can’t find perfect cover, create it through turning your subject so the sun falls behind them and the sky lights them gently.
Use Side Lighting
At any time overhead sun feels harsh and flat, side lighting gives you a simple way to shape the face with intention. Instead of leaving your subject under direct top light, turn them so the sun comes from one side. That small move creates side illumination and adds depth, texture, and mood without extra gear.
As you adjust position, watch how directional lighting changes the look of the scene. A slight turn of the shoulders, chin, or body can make your portrait feel more natural and connected. You don’t need perfection. You just need to notice where the light falls best and guide your subject there.
This approach helps you create photos that feel thoughtful, welcoming, and true to your style. In bright conditions, that sense of control can help you and your subject feel at ease.
Control Facial Shadows
Supposing harsh sun carves deep lines across the face, a small change in where your subject stands can soften those shadows fast. You don’t need fancy gear. You just need to watch shadow patterns and guide tiny moves. Turn your subject a few degrees, lift the chin slightly, or have them step until light hits kinder facial angles. This helps everyone feel confident and seen.
| Move | What changes | Best use |
|---|---|---|
| Turn slightly | Softens cheek shadows | Portraits |
| Chin up a touch | Opens eye sockets | Midday sun |
| Step sideways | Evens nose shadow | Close-ups |
Since side lighting already adds shape, you can now refine it. Keep the brighter side toward camera, check the eyes, and adjust until the face feels balanced, natural, and welcoming to everyone nearby.
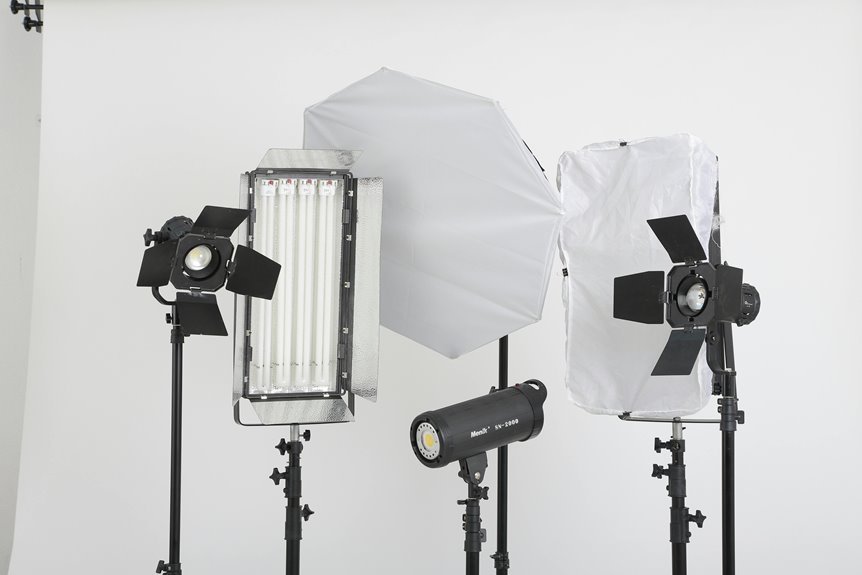
Soften Harsh Light With Simple Modifiers
Because harsh sun creates deep shadows and bright hotspots fast, simple modifiers can give you much more control without turning your shoot into a big production. You don’t need fancy gear to feel like you’ve got this. A foldable reflector, a white sheet, or a scrim can help you shape light so your subject looks natural and comfortable.
Start with reflector placement. Hold a silver or white reflector below the face to lift shadows under the eyes and chin. Then test angles from the side for softer fill.
Next, use diffuser techniques to tame overhead glare. Place a diffuser between the sun and your subject to spread light evenly across skin and clothing. In case you’re working alone, clip it to a stand. Small tools like these help you create images that feel polished and welcoming.
Shoot Earlier or Later for Better Light
While modifiers help you tame harsh sun on the spot, changing your timing often gives you the biggest improvement with less effort. Provided you can, plan your session earlier in the morning or later in the day.
You’ll get softer light, kinder shadows, and reduced contrast that makes faces, colors, and textures look more natural.
That shift matters because light shapes how connected your photos feel. During golden hour, the sun sits lower, so it wraps your subject in warmth instead of blasting them from above. You won’t fight deep eye sockets, shiny skin, or hard lines nearly as much.
You also get more freedom to compose, move, and relax with your subject. Whenever you choose better light, you set everyone up to feel comfortable, confident, and part of something beautiful together.
Edit Harsh Light Photos for Better Balance
Even although you plan well and shape the light in camera, some harsh-light photos still need careful editing to feel balanced and natural. Start with gentle tone adjustment so bright areas keep detail and skin still looks real. Then lift dark areas slowly. Small moves usually work better than big fixes.
Next, focus on shadow balancing to soften deep lines under eyes, noses, and chins without making faces look flat. You can lower highlights, open shadows, and fine-tune contrast so the image keeps depth.
In case colors feel harsh, pull back saturation a little and warm the skin tones. Crop distractions that make the light feel stronger than it is. As you edit, trust your eye and your story. You’re not fixing failure. You’re helping the photo feel like it belongs with your best work.
Frequently Asked Questions
Can Harsh Light Ever Create Flattering Portraits Intentionally?
Yes, harsh light can flatter a portrait when you use it with purpose. Place your subject with care, control where the shadows fall, and use bright highlights to sculpt the face. Strong contrast can add definition, mood, and a striking visual style.
What Camera Metering Mode Works Best in Harsh Sunlight?
In harsh sunlight, center weighted or partial metering often works best because it gives more importance to your subject’s face while helping you hold detail in bright highlights. This approach makes exposure decisions more controlled and keeps results more predictable from frame to frame.
Should I Use RAW or JPEG in Extreme Contrast?
Use RAW. In scenes with very bright highlights and deep shadows, RAW keeps more tonal detail and gives you more room to adjust exposure, recover clipped areas, and fine tune color during editing. It is the safer choice when contrast is high.
How Do Sunglasses Affect Portraits in Bright Midday Light?
Sunglasses reduce squinting in harsh midday portraits, but they also conceal the eyes, can catch flare, and may shift color. Better results come from precise subject placement and close attention to reflections.
When Is Black and White Better Than Color Outdoors?
Black and white often works best outdoors in harsh contrast, cluttered color, or scenes where texture and atmosphere matter more than hue. It can turn scattered visual elements into a stronger composition and give the image a clearer emotional direction.