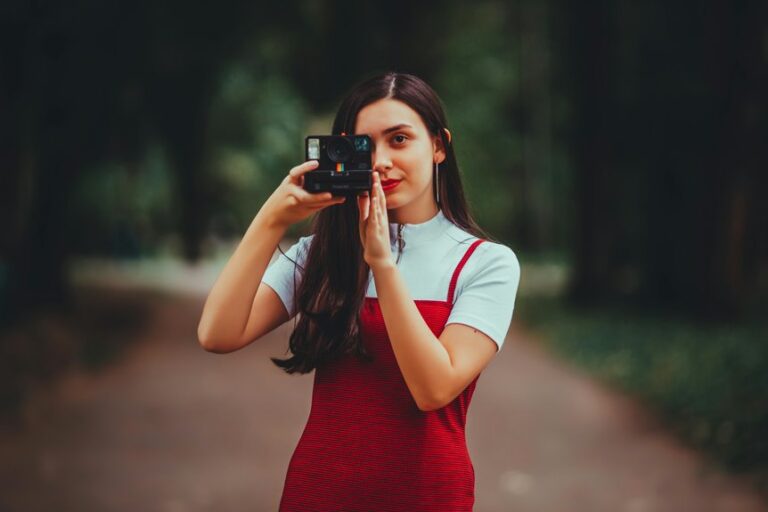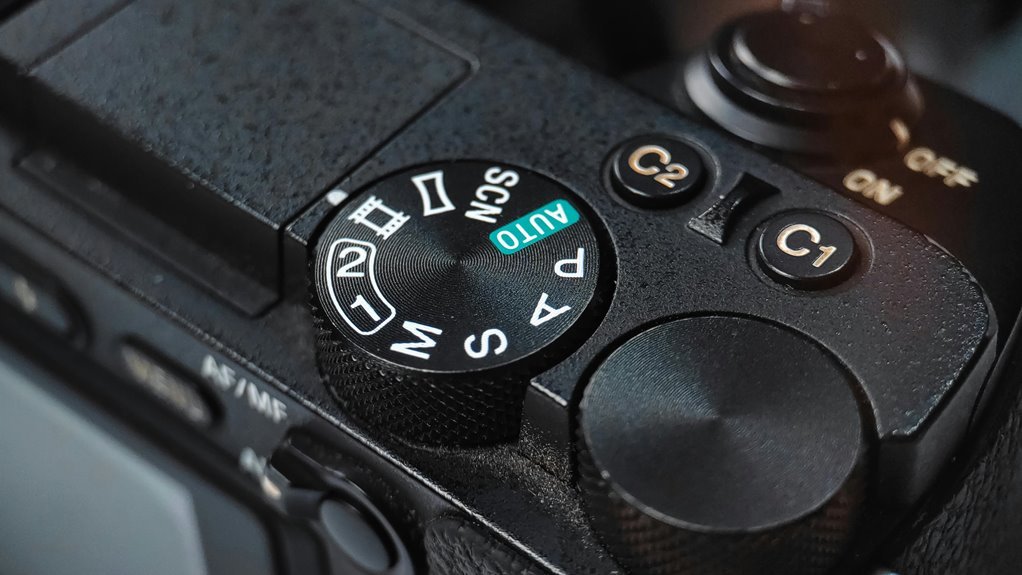
Manual mode gives you full control over how your photos look. It lets you choose how much light enters the camera, how sharp the image feels, and how much noise shows up. Aperture, shutter speed, ISO, focus, metering, and white balance all work together once you get the basics. A few practice shots can make manual mode feel much easier.
What Is Manual Mode?
So, what exactly is manual mode? It’s the setting that hands you full exposure control, so you decide how bright or dark your photo feels. In manual mode, your camera won’t guess for you, and that’s a good thing whenever you want your own style to shine.
You’re not behind the curve; you’re learning the same control that many photographers use to grow faster. Initially, you set the camera’s key settings yourself, then you watch how each choice changes the result.
At the outset, that can feel a little bossy, but it quickly becomes freeing. With practice, you’ll stop hoping the camera gets it right and start making it happen. That’s where confidence begins.
Manual Mode Aperture: Control Depth of Field
Aperture gives you direct control over depth of field, so you can decide whether the whole scene stays sharp or just your main subject does.
A wide aperture like f/1.4 creates a soft, blurred background, while a narrow aperture like f/5.6 keeps more of the image in focus. Once you understand this tradeoff, you can use aperture to shape the look of your photo with purpose and confidence.
Aperture Controls Depth
What makes a photo feel soft, dreamy, or sharply detailed? You shape that look with aperture, and you’re not guessing anymore. At the moment you choose an aperture, you guide depth perception, so your viewer feels space the way you want. Your focal length also matters, because it changes how much of the scene seems close or far.
| Aperture | Effect | Use |
|---|---|---|
| f/1.8 | Less in focus | Portraits |
| f/2.8 | Gentle blur | People |
| f/4 | Balanced detail | Everyday scenes |
| f/5.6 | More scene clear | Groups |
| f/8 | Crisp depth | Vistas |
As you practice, you’ll notice your shots start to feel more like yours. That’s the part that builds confidence, and yes, it feels pretty great.
Wide Vs Narrow Aperture
A wide aperture can feel like opening a window, while a narrow aperture can feel like drawing the curtains just enough to sharpen the view.
Whenever you choose a wide setting, like f/1.8, you let in more light and make your subject stand out. That soft blur behind them gives you the bokeh effect many new photographers love.
With a narrow setting, like f/8, more of the scene stays crisp, which helps in cases where you want faces, flowers, or streets in focus together. Your lens choice matters too, because some lenses handle wide openings better than others.
Manual Mode Shutter Speed: Freeze or Blur Motion
Shutter speed is the part of manual mode that lets you decide whether motion looks crisp or soft, and that choice can change the whole feel of a photo. Whenever you use a fast setting, you can freeze a runner’s stride or a dog’s leap.
When you slow it down, you invite motion blur that can make water, cars, or hands feel alive. This shutter adjustment is easiest once you know what the scene needs before you press the button.
In case your subject is still, you can stay relaxed. Should it be moving fast, you’ll want a quicker click. That’s how you join the photo, not just watch it happen. It’s your timing, and that’s pretty enabling.
Manual Mode ISO: Brightness Without Extra Light
As the light starts to fade, ISO becomes your quiet backup for keeping a photo bright without adding more light. You can raise it whenever your scene feels dim, and your camera will respond through making the sensor more sensitive to light. That helps you keep shooting with confidence, even during the room or street feels a little too dark.
Still, each step up can add grain, so noise reduction matters whenever you want cleaner details. Start low as often as you can, then move up only as needed. This gives you room to stay creative without fighting the dark.
In case you watch your screen closely, you’ll learn which setting feels right for your style, and that’s part of growing with your camera.
How the Exposure Triangle Works in Manual Mode
Manual mode feels a lot less mysterious once you see how the exposure triangle works together. You control aperture, shutter speed, and ISO like a small team, and each one changes exposure balance in a different way.
Aperture shapes depth and light interaction, shutter speed decides whether motion looks sharp or soft, and ISO lifts brightness whenever the scene feels dim. At the moment you change one setting, you often need to adjust the others, so your image stays steady and true.
That’s the heart of manual mode: you’re not guessing, you’re making choices that fit your scene. With a little practice, you’ll start to feel which setting should move initially, and that confidence grows fast.
Focus, Metering, and White Balance in Manual Mode
Whenever you shoot in manual mode, focus helps you place sharp detail exactly where you want it, so your subject doesn’t get lost in the frame.
Metering tells you how bright the scene is, and white balance helps you keep colors looking natural instead of too warm or too cool.
Once you get comfortable with these controls, you’ll feel more in charge of each photo and less like the camera is guessing for you.
Focus Control Basics
Even with your exposure set, your photo can still miss the mark in case focus, metering, and white balance aren’t working along with you. You’re not alone in case this part feels tricky at the outset.
Start via choosing the right focus modes, then pick focus points that sit on your subject’s eyes, face, or edge. That small step gives your image a clean, confident look. In case your camera hunts, switch modes and try again rather than fighting it.
Next, use manual focus once the scene stays still and auto focus once life moves fast. Through checking focus before you press the shutter, you’ll save time and avoid soft shots.
With a little practice, you’ll trust your camera and feel more at home behind it.
Metering And White Balance
How do you make sure your photo looks right before you even press the shutter? You check how your camera reads light, then you set white balance so colors feel true. In case faces look too blue or orange, you’re not alone. We’ve all been there.
| Setting | What it does | Best use |
|---|---|---|
| spot metering | Reads one small area | Backlit faces |
| center metering | Reads the middle | Simple scenes |
| custom whitebalance | Matches color to light | Mixed indoor light |
When you use spot metering, you tell the camera what matters most. Then custom whitebalance helps your scene stay natural, not weirdly warm or chilly. Together, these tools make manual mode feel calmer. You’re not guessing anymore. You’re choosing. That’s the shift that helps you feel at home behind the camera, and it shows in every frame.
Practice Manual Mode With Simple Exercises
Start with simple drills, because manual mode makes a lot more sense once you can see one change at a time.
Pick a sunny scene, set ISO low, and shoot test shots while moving only aperture. Watch how the exposure meter shifts, then notice how background blur changes.
Next, keep aperture steady and try different shutter speeds to see motion freeze or soften.
After that, hold those settings and raise ISO just enough to brighten the frame.
You’re not chasing perfection here. You’re building confidence, one small win at a time, and that’s how real progress sticks.
Whenever you repeat these easy exercises, manual mode starts to feel less like guesswork and more like a skill you already belong to.
Frequently Asked Questions
How Do I Know When to Use Manual Mode Versus Auto Mode?
Use manual mode when you want control over exposure, need to handle difficult light, or want repeatable results. Use auto mode when you are still learning or need to shoot quickly. There is a learning curve, so begin with simple settings and build from there.
Why Does My Camera Image Look Too Dark in Manual Mode?
Most dark manual shots happen because the exposure settings are off. Aperture, ISO, and shutter speed need to work together. Many beginners solve it by adjusting shutter speed. You can also raise ISO, slow the shutter, or open the aperture.
What Should I Do if My Exposure Meter Keeps Changing?
Lock down your setup, then fine tune aperture, shutter speed, or ISO until the meter reads consistently. Check for meter calibration problems and make small lighting changes. Learning how your meter responds is part of the process.
How Can I Avoid Noisy Photos When Increasing ISO?
Keep ISO low whenever possible, open the aperture more, and use a slower shutter speed when the scene allows. If you need a higher ISO, use noise reduction and remember that higher sensor sensitivity increases grain.
Which Camera Settings Should I Prioritize for Portraits or Landscapes?
For portraits, choose a wide aperture to soften the background. For landscapes, choose a narrow aperture to keep more of the scene sharp. After that, set shutter speed to avoid blur from camera shake or movement, then raise ISO only if the image is still too dark.