

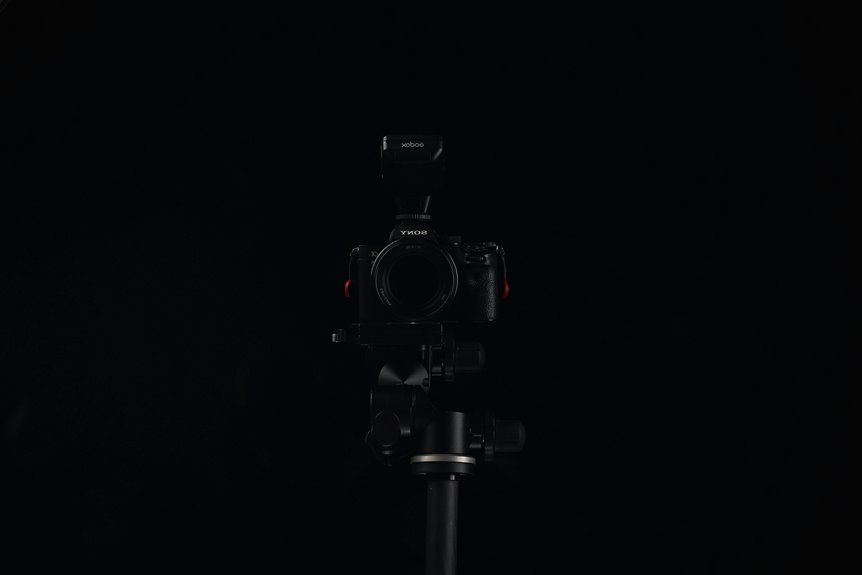

A tripod helps you get sharper low light photos by keeping the camera steady. Sharp results come from solid footing, tight locks, and fewer vibrations. Small movements from soft ground, loose legs, or pressing the shutter can blur a shot fast. These tips show simple ways to keep your tripod stable and your images crisp.
Pick a Stable Spot for Low-Light Shots
A solid setup starts with the ground beneath your tripod, because even the best camera settings can’t fix blur caused from a shaky spot. Before you frame anything, check the ground surface. Firm dirt, rock, and concrete help you feel confident and connected to the scene. Sand, mud, wet grass, and loose boards can shift in case you least expect it.
From there, pay attention to tripod leg placement. Spread the legs so each foot sits on solid contact points, and avoid cracks, slopes, or spots that bounce when people walk nearby.
In the event you’re shooting with friends, ask them to step lightly around you. You belong out there, and your setup should support that feeling. Once the base feels trustworthy, you can stay calm, work carefully, and give your low-light image a real chance.
Set Up Your Tripod for Maximum Sharpness
Once you’ve found solid ground, set your tripod so it works with you, not against you. Start off by spreading the legs wide, then extend legs only as much as you need. Keep the center column down, because height can cost sharpness. In case you use carbon fiber, you’ll get a strong, travel-friendly setup that still feels dependable.
Next, check every lock and make sure nothing shifts under pressure. Tighten the tripod head so your camera stays put whenever you reframe. On uneven ground, adjust each leg until the platform feels level and steady. Then add weight hanging from the center post to calm small shakes, especially in wind.
These small steps help you feel in control, like part of the group that comes home with crisp low-light shots, not blurry almosts.
Use Anti-Vibration Settings for Low Light
With your tripod locked down, your camera settings now need to stop fighting that stability. Start out turning off image stabilization, since many lenses and bodies hunt for movement that isn’t there. That tiny correction can soften a long exposure instead of helping it.
Next, check whether your camera uses sensor stabilization in the body. On a tripod, switch it off unless your manual says otherwise. You’re building the same careful habits skilled low light shooters trust, and that consistency pays off.
In case your camera offers mirror lockup or electronic initial curtain shutter, enable them to cut internal shake. For tricky scenes, try continuous burst on a low setting. Later frames often look crisper because the camera settles after the initial shot. These small choices help your sharp images feel repeatable, not lucky.
Trigger the Shutter Without Touching the Camera
Because even a light tap can blur a sharp shot, you’ll get better results should you trigger the shutter without touching the camera at all. That small change helps you feel more in control, and it’s one of those habits skilled low light photographers all share.
Begin with a remote release in case you have one. It lets you fire the shutter cleanly, keeps the setup steady, and makes longer exposures much safer.
In the event you don’t have one yet, use your camera’s self timer. A 2-second delay gives your hand time to move away before the exposure begins. For even better odds, try Continuous Low mode so the initial tiny vibration doesn’t ruin your favorite frame.
Stay hands-off, let the tripod do its job, and trust your process tonight.
Review Sharpness and Adjust Exposure On Site
After you’ve taken the shot without touching the camera, don’t just trust the screen at a glance. Zoom in and check key details at 100 percent, especially bright edges, stars, or textured subjects. That quick focus validation tells you whether your tripod setup, manual focus, and timing worked together.
Next, study the histogram instead of judging brightness through the LCD alone. In low light, screens can fool you.
Should highlights bunch up or shadows block, make a careful exposure adjustment with shutter speed, ISO, or aperture, then reshoot. Stay with the scene for a few extra moments and compare frames side to side.
You’ll feel more confident, and you’ll know you’re bringing home the sharp, clean image your fellow photographers aim for too, even as the dark plays tricks.
Frequently Asked Questions
Which Tripod Materials Are Best for Travel and Low-Light Photography?
For travel and low light photography, carbon fiber offers low weight, high strength, and strong vibration reduction. Aluminum alloy provides solid stability and lower cost, though it adds more weight. Choose based on how much you carry and your budget.
How Do I Manually Focus Accurately in Very Dark Scenes?
Focus accurately in very dark scenes by switching to manual focus and using focus magnification on a bright star or distant light source. Turn on manual focus assist if your camera offers it. Temporarily raise ISO to make the subject easier to see, then adjust focus until the details look crisp.
Should Image Stabilization Stay on for Handheld Low-Light Shots?
Yes, keep image stabilization on for handheld low light shots. It uses gyro correction and sensor alignment to limit blur. The benefit becomes clear at shutter speeds slower than 1/60 second, where small hand movements can soften detail. It also helps you hold the camera with more control while shooting.
What Minimum Shutter Speed Helps Avoid Blur Without a Tripod?
Use a shutter speed no slower than 1 divided by your focal length to reduce blur from camera shake. Sharper handheld photos also come from bracing your body, keeping your grip steady, and choosing settings that support a clean exposure in busy shooting situations.
How Can Exposure Bracketing Improve Difficult Low-Light Scenes?
Use exposure bracketing to shoot several versions of the same low light scene at different brightness levels. This gives you more detail in deep shadows and bright highlights, helps control noise, and makes it easier to combine the strongest parts of each frame into one well balanced image.
