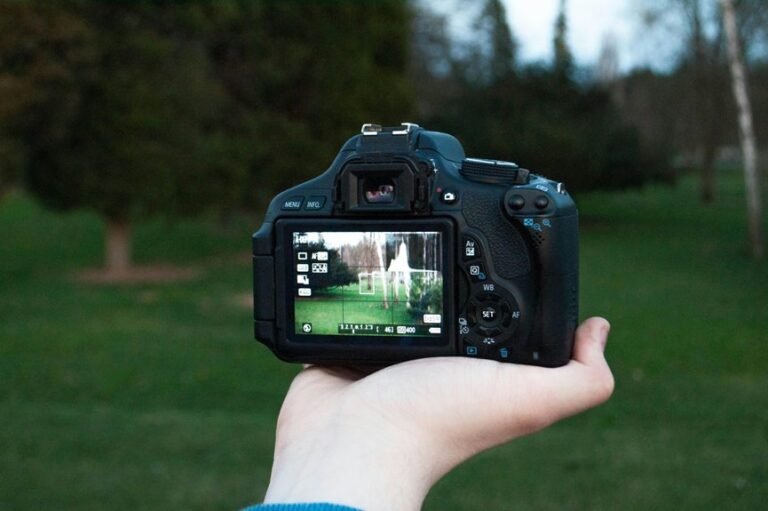

A histogram is the quickest way to see whether your photo is exposed well. It shows where tones pile up, so bright highlights and dark shadows are easier to judge than on the LCD alone. With a quick glance, you can catch clipped whites, blocked blacks, and color channel problems before the shot is gone. That means more detail, better edits, and steadier results in tricky light.
Learn What a Histogram Shows
What does a histogram actually tell you? It shows the tonal distribution in your photo, from dark tones on the left to bright tones on the right. Whenever you read it, you’re not guessing anymore. You’re joining photographers who trust clear visual data, not just hope.
Tall peaks show where many tones gather, while gaps reveal missing detail. That matters because your camera scene can fool your eyes fast.
As you learn the graph, exposure balance starts to make sense. A heavy push left means a darker image. A climb to the right means brighter tones.
In case tones bunch at either edge, detail might be lost. Most cameras give you this tool live, right on screen, so you can respond with more confidence and feel more at home behind the camera.
Check the Histogram Before the LCD
Before you trust the LCD, check your histogram initially because screen brightness can fool you fast. The histogram gives you a truer read on exposure, so you can see whether your shot is really balanced.
Right away, you can also catch clipping in the highlights or shadows prior to a great photo slips away.
LCD Brightness Can Mislead
Although your camera’s LCD looks helpful, it can fool you fast because screen brightness changes how a photo appears. In case the display is turned up, your shot could seem brighter than it really is. Should it be dim, you may believe the frame is too dark. That’s why so many photographers feel confused initially, and you’re not alone.
What you see also shifts with screen calibration and ambient lighting. Bright sun can wash out the preview, while a dark room can make almost any image look rich and balanced. So once you trust the LCD alone, you’re judging a moving target.
A better habit is to treat the screen like a rough glance, not a final answer. That simple shift helps you feel more confident, steady, and in control every time you shoot.
Histogram Shows True Exposure
Since your LCD can shift with sunlight, screen settings, and even where you’re standing, the histogram gives you a steadier truth about exposure. It reads the photo’s tones from dark to bright, so you can trust what the camera actually captured, not what the screen happens to show.
That matters because you want exposure accuracy, especially whenever you’re learning and trying to feel confident with the group. A quick glance at the graph gives you tonal verification in real time. In case most tones bunch in the middle, your image is likely balanced.
Provided they lean left or right, your exposure might need a small adjustment. In other words, the histogram speaks a clearer language than the LCD. Once you get used to it, you’ll feel more in control, and a lot less second-guessy out there.
Check Clipping Immediately
Start upon checking the histogram the moment you take the shot, not the LCD, because clipping can sneak past your eyes fast.
Your screen can look bright, sharp, and comforting, yet still hide lost highlights or blocked shadows. The histogram tells the truth your eyes might miss.
Expect Different Histogram Shapes by Scene
At the moment you initially look at a histogram, it’s easy to believe there’s one “perfect” shape, but that’s not how real scenes work. Your graph will change with the light, subject, and scene contrast. A snowy field might bunch tones to the right, while a dark concert could lean left. Both can be correct.
That’s why histogram interpretation matters so much. You’re not trying to make every photo look the same. You’re learning to read what belongs to that moment.
A foggy morning might show a soft, narrow spread. A sunny street scene could show a wider graph with several peaks. As you keep shooting, you’ll start to trust those differences instead of fighting them. That shift helps you feel more confident, more connected, and more at home with your camera every day.
Use the Histogram to Protect Highlights
Different scenes can produce very different histogram shapes, but one warning stays the same: should the graph be pushed hard against the right edge, your highlights are in danger. At the moment that happens, bright areas lose detail fast, so you’ll want quick exposure adjustment for strong highlight preservation. This keeps your photo feeling natural and polished.
| Histogram sign | What you do |
|---|---|
| Right edge touched | Lower exposure slightly |
| Tall bright spike | Check reflective areas |
| Bright skin clipping | Reduce exposure compensation |
| Clouds losing texture | Recompose or meter again |
As you practice, you’ll start feeling like part of the group that catches these issues before they ruin a shot. Trust the graph more than the LCD preview. It’s your steady teammate in tricky light, especially outdoors.
Watch the Histogram for Crushed Shadows
After you protect your highlights, you also need to watch the left side of the histogram for crushed shadows. In case the graph is piled up against that edge, you’re losing dark detail that you mightn’t get back later.
When catching shadow clipping promptly, you can make small exposure changes and keep those rich, crucial tones intact.
Identify Shadow Clipping
Why do some photos look rich on the camera screen, then turn muddy and flat later? Often, your shadows have slipped past the shadow threshold, and the histogram is warning you. As soon as the graph bunches hard against the left edge, dark tones are clipping. That means parts of your image have gone fully black, with no texture left to show.
To catch this promptly, check your clipping indicators and histogram together after each crucial shot. In case blinking black areas appear on jackets, hair, trees, or dark backgrounds, your exposure has pushed too far into shadow loss.
This matters because you want your photo to feel full, honest, and alive, not heavy or blocked up. Once you learn this pattern, you’ll feel more confident and connected to what your camera is really telling you.
Recover Dark Detail
How can you bring back detail in dark areas prior to the photo being beyond saving? Start by checking the left side of your histogram. Should tones be piled against the edge, your shadows are getting crushed, and crucial texture might disappear.
That’s where you can step in with confidence. Use a small exposure adjustment to lift dark tones before highlights blow out. Provided your camera allows it, raise exposure compensation slightly and watch the graph move away from the left wall.
This gives you more room for shadow recovery afterward, especially in case you shoot RAW. Also, keep your main subject in mind, because you’re part of a group of photographers who protect detail with purpose. Whenever you catch shadow clipping at an early stage, you don’t just save the image, you keep the story and mood.
Check RGB Clipping and Recheck Exposure
Even though the entire histogram looks safe, you still need to check for RGB clipping because a photo can lose detail in one color channel prior to the full exposure graph warns you.
That matters whenever bright flowers, skin, sunsets, or stage lights push red, green, or blue too far. In case one channel clips, your color balance can shift, and texture might vanish for good.
Frequently Asked Questions
How Do I Expose Correctly When the Subject Is Backlit?
Meter from your subject’s face instead of the bright background, and use fill flash if the face is too dark. Increase exposure compensation when needed, or keep the exposure low if you want a silhouette. Backlit scenes are difficult because the camera often prioritizes the bright area behind the subject.
What ISO Should I Use for Cleaner Images?
Use the lowest ISO that still supports your exposure. Lower ISO produces less noise and stronger color. Raise ISO only in low light when a slower shutter speed would cause blur or a wider aperture would not work for the shot.
When Should I Use Exposure Compensation Instead of Manual Mode?
Use exposure compensation when your camera’s metering is almost correct but bright skies, backlighting, snow, or dark scenes need a quick shift brighter or darker. Use manual mode when the light on your subject is not changing and you want the same exposure from frame to frame. Learning both also helps when working with exposure presets.
How Do Shadows and Light Direction Affect Exposure Decisions?
You read shadows for contrast and light for direction: they tell you what to hold in detail and what to let fall away. As you frame, they shape subject brightness, mood, and texture, helping you make clear exposure choices.
Should I Bracket Exposures in High-Contrast Scenes?
In high contrast scenes, bracketing exposures is usually the safest choice because a single frame often cannot hold detail in both bright highlights and deep shadows. By capturing multiple exposures, you give yourself clean detail across the tonal range and the option to blend those frames later into a more natural final image.