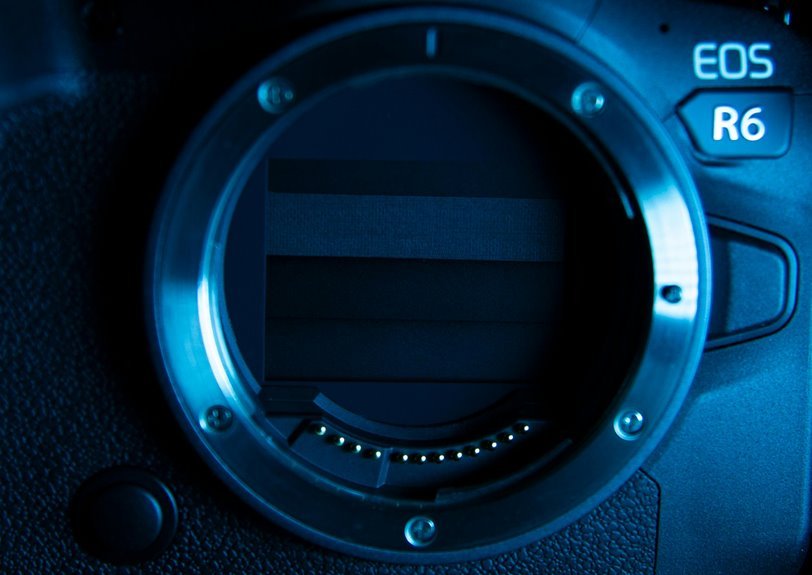

Sensor dust spots are easy to remove from your photos with a few quick fixes. You can check whether the marks are really dust, clean them up in Lightroom, and use Photoshop for the stubborn ones. You can also copy those edits across a whole batch of images to save time. A few smart lens-changing habits help stop new spots from showing up.
Identify Sensor Dust Spots First
How do you know those tiny marks are sensor dust and not something else? You look for patterns. Dust spots stay in the same place across several photos, even as your subject moves. That consistency helps you feel confident you’re seeing a camera issue, not a random flaw.
Next, use manual scanning at 200% zoom and move across the frame in an orderly path. Start at the upper left, then work screen after screen so you don’t miss anything.
A careful aperture adjustment also helps. Shoot a plain, bright surface at f/16 or narrower, and those faint spots usually show up faster. You’ll often notice them most in soft, out-of-focus areas.
Once you spot the repeating marks, you’re part of the group that catches problems promptly and edits with less stress later.
Remove Dust Spots in Lightroom
Once you’ve confirmed the marks are sensor dust, Lightroom gives you a fast, calm way to clean them up without turning the job into a long editing slog. You can start with automatic removal in the Remove tool, which often clears the obvious spots in one pass and helps you feel back in control.
Then slow down and check the frame at 200% zoom. Should it be needed, raise contrast or exposure for a moment so faint marks stand out.
From there, use manual healing to fix anything the initial pass missed. Move across the image in a steady pattern, starting at the upper-left corner and advancing screen after screen. That simple rhythm helps you catch every spot. Whenever one corrected photo matches the rest of your set, copy those settings or save a preset for easy batch cleanup later.
Fix Stubborn Dust Spots in Photoshop
Should Lightroom leaves behind a few stubborn marks, Photoshop gives you tighter control and a better shot at making those spots disappear cleanly. Start off with duplicating your layer, then zoom in close so you can work with confidence. Use Spot Healing for easy marks, and switch to the Healing Brush or Clone Stamp as edges, texture, or gradients need extra care.
If a dust spot sits in delicate detail, frequency separation helps you fix texture and tone on separate layers. That keeps skin, skies, and soft backgrounds looking natural.
Whenever cleanup shifts nearby tones, make a small color correction with Curves or Hue/Saturation so everything blends in. Work slowly, sample often, and toggle your layer visibility to check progress. You’re not just fixing flaws. You’re protecting the polished look your photos deserve.
Batch Remove Dust Spots From Multiple Photos
After you clean up the few problem spots manually, the real time-saver starts once you batch remove dust spots across the rest of the shoot. Because sensor dust stays in the same place, you can correct one strong reference image, then spread those fixes through the set with confidence.
That’s where preset creation and batch syncing help you feel fully in control. In Lightroom, Camera Raw, ON1, or Exposure, copy the spot-heal corrections from your cleaned file and paste or sync them to matching photos. You’ll move faster, stay consistent, and keep the whole gallery looking polished.
This works especially well whenever your images come from the same session, even provided some are portrait and others are scenery. You’re not starting over each time. You’re building a smoother workflow your whole editing process can rely on.
Prevent Sensor Dust on Future Shoots
Because dust cleanup gets old fast, the smartest move is to stop as much dust as you can before it ever lands on your sensor. Start with smart camera maintenance. Turn your camera off prior to changing lenses, keep rear caps clean, and point the mount downward. In a dusty shooting environment, swap lenses quickly and shelter your gear with your body or bag.
| Habit | Why it helps | Your move |
|---|---|---|
| Power off | Reduces static attraction | Switch off initially |
| Mount down | Limits falling dust | Angle camera downward |
| Clean caps | Stops transfer | Wipe them often |
You’re not alone in case dust keeps showing up. We’ve all fought it. Add a blower to your kit, avoid windy lens changes, and store gear in sealed bags. Small habits save editing time later.
Frequently Asked Questions
Can AI Automatically Detect Sensor Dust Spots in RAW Files?
Yes, AI can detect sensor dust spots in RAW files automatically. Applications such as Lightroom, Camera Raw, and ON1 include dust spot detection and removal features, which helps speed up editing and maintain a more consistent workflow.
Do Dust Spot Corrections Work Across Portrait and Landscape Photos?
Yes. Dust corrections act like fixed reference points on the sensor, so the same preset often works for both portrait and landscape images. Synced edits are usually effective, but it is smart to quickly review each photo since some spots can shift slightly.
Why Are Mirrorless Cameras More Vulnerable to Sensor Dust?
Mirrorless cameras collect sensor dust more easily because the sensor sits closer to the lens mount and stays more exposed when you change lenses. A DSLR places the mirror assembly in front of the sensor, which adds a physical barrier. With a mirrorless body, particles can reach the sensor sooner, especially if you switch lenses frequently.
At What Aperture Do Sensor Dust Spots Become Most Visible?
Sensor dust spots show up most clearly at narrow apertures such as f/16. With greater depth of field and less background blur, tiny particles on the sensor become easier to see, often appearing as small dark marks in bright, even areas of the image.
When Should You Choose Professional Sensor Cleaning Instead?
Choose professional sensor cleaning when spots keep showing up in the same areas across multiple sessions, particularly after swapping lenses, and your usual editing shortcuts stop helping. It makes sense when the price of service feels easier to justify than the chance of damaging the sensor yourself, especially if you rely on consistent files and a smooth shooting routine.