
Photography lighting shapes how every photo looks and feels. Soft light smooths skin, hard light creates bold contrast, and light direction adds depth. Good lighting also helps with exposure and color, even with simple gear. This guide covers 11 beginner basics so lighting feels easier and more natural to use.
What Makes Light Good for Photos?
Why does some light make a photo feel clean, natural, and full of life while other light makes it look harsh or flat? Good light helps your subject feel real, welcoming, and easy to connect with. You notice this initially in shadow quality.
Soft light wraps gently, smooths skin, and feels kind. Hard light cuts strong lines, enhances texture, and can feel bold or severe.
Then you look at lighting direction, because angle shapes the face and body. Front light looks even. Side light adds form. Backlight creates separation and glow.
Color temperature matters too, since warm or cool light changes mood and skin tone fast. Whenever you learn to read softness, shadow, direction, and color, you stop guessing. You start making photos that feel like they truly belong with your people.
See How Natural Light Changes
How does daylight keep changing even as your subject stays still? As you shoot, the sun keeps moving, and your photos change with it. That means you’re not doing anything wrong. You’re learning to notice light like every photographer does, and that helps you feel part of the craft.
- During golden hour, light looks warm, soft, and welcoming.
- In midday shifts, the sun grows stronger, highlights brighten, and contrast rises fast.
- Around late afternoon, shadow lengthening becomes obvious, and scenes feel deeper and calmer.
As time passes, color temperature changes too. Morning and evening often look warmer, while noon can feel cooler and cleaner.
Should you pause, watch, and compare, you’ll start trusting your eye. That’s a big step, and you absolutely belong here alongside other beginners.
Use Front, Side, and Back Light
You can change the whole feel of your photo just through moving the light to the front, side, or back of your subject. Front light gives you clear, even detail, while side light adds shape with shadows that make your image feel richer.
Back light creates glow, separation, or bold silhouettes, so you can guide the mood with simple shifts in position.
Front Light Effects
During the period the light sits in front of your subject, it creates one of the easiest and most forgiving looks to control. You get even detail across the face, clean subject highlights, and simple shadow placement that falls behind the subject instead of across crucial features.
That makes front light a great place to start whenever you want results that feel polished and welcoming.
Here’s what you’ll notice:
- Skin looks smoother, especially with soft light or a diffuser.
- Eyes appear brighter because the face receives steady illumination.
- Details stay clear, so your subject feels open, friendly, and easy to read.
In case you’re building confidence, front light helps you learn faster.
Raise the light slightly above eye level for a natural look, and use a reflector in case you want even softer shadows and warmth.
Side And Back Light
Once front light feels familiar, side and back light open the door to more shape, depth, and mood in your photos. With side light, you place the source about 45 degrees from your subject. That angle creates shadows that sculpt faces, clothing, and small details, so your images feel more alive.
Should you want gentle depth, soften the light with a diffuser. In case you want stronger drama, use harder light for textured highlights.
Then back light lets you create separation and emotion. You place the light behind your subject to produce a glowing outline or dramatic silhouettes. A slight turn of the body changes the edge light and keeps features readable. When shadows get too deep, bounce light back with a reflector.
As you practice, you’ll feel more connected to the scene and your style.
Know When Light Is Soft or Hard
How can you tell whether light is soft or hard before you even press the shutter? You look at the shadows initially. Soft light wraps around your subject and keeps shadow hardness low, so skin looks smooth and welcoming. Hard light hits directly and creates strong contrast with high edge clarity, which makes textures pop and drama rise.
To judge it fast, stay curious and check these cues:
- Look at shadow edges. Blurry edges mean soft light. Crisp lines mean hard light.
- Watch changes from bright to dark. Gradual changes feel gentle. Sudden shifts feel bold.
- Notice the source size. Big, diffused light usually looks softer. Small, direct light usually looks harder.
As you practice, you’ll start seeing light like everyone in the photography community does, with growing confidence.
Balance Light With Better Exposure
To keep your lighting under control, you need to expose for the brightest parts initially so crucial highlights don’t blow out.
Then you can use exposure compensation to fine-tune the shot whenever your camera’s meter needs a little help.
As you shoot, check the histogram so you can spot clipping fast and make confident adjustments.
Meter For Highlights
As bright areas attract your eye initially, meter for those highlights so you don’t lose essential detail in skin, white clothing, or shiny surfaces.
Whenever you use highlight metering, you protect the brightest parts primarily, then let shadows fall where your camera’s vibrant range can still hold information.
To make this easier, stay with a simple rhythm:
- Spot meter the brightest significant area, not a light bulb or the sun.
- Check your histogram and keep the right edge from piling up.
- Reframe and shoot once highlights look clean and natural.
This approach helps your photos feel polished and welcoming, like you truly belong behind the camera.
You’ll keep texture in dresses, cheeks, and metal, while avoiding blown-out patches that can make an otherwise beautiful image feel harder to trust.
Use Exposure Compensation
At the moment the camera’s meter gets fooled due to bright skies, dark clothes, or strong backlight, exposure compensation lets you step in and guide the photo back to where it should be. You stay in control, and that feels good whenever you’re learning.
Use the plus side whenever your subject looks too dark. Use the minus side whenever bright areas look washed out. Small changes, like plus one-third or minus two-thirds, often fix the frame without slowing you down.
In case you’re not in manual mode, this tool works fast with the camera’s meter. It also helps you shape light while keeping the exposure triangle in balance. As you practice, you’ll start trusting your eye more. That’s how you grow with your camera and feel like you truly belong behind it.
Check The Histogram
Exposure compensation helps you nudge brightness in the right direction, and the histogram shows you whether that choice really worked. Instead of trusting the screen alone, you can use the light histogram for quick exposure analysis. It helps you feel more confident and in control, especially whenever the scene looks tricky.
- Check the left side for blocked shadows. In case data piles up there, your photo might be too dark.
- Watch the right side for clipped highlights. Assuming the graph slams that edge, bright areas could lose detail.
- Aim for balance based on your subject. A bright background or dark outfit can shift the graph naturally.
As you practice, the histogram becomes part of your routine. Soon, you’ll read it like a teammate who quietly keeps your exposure honest every single shot.
Match White Balance to Your Light
Why do some photos look too blue, too orange, or just plain off even though the light seems fine? White balance is the fix. Whenever you match it to your light, skin looks natural and your scene feels true. You don’t need fancy gear to belong here. Start with Auto, then test presets like Daylight, Cloudy, Tungsten, or Fluorescent. In case your camera allows Kelvin control, make a small temperature adjustment and compare results. That simple habit builds confidence fast.
| Light source | White balance choice |
|---|---|
| Tungsten bulbs | Tungsten preset |
| Shade or cloudy sky | Cloudy preset |
For even better color, use a gray card for color calibration. LED panels often let you change color temperature, so match the camera setting too. Soon, your photos will feel consistent, welcoming, and beautifully real every time.
Use Window Light for Simple Portraits
As soon as you want a simple portrait that still feels soft and beautiful, window light is one of the easiest tools you can utilize. It helps you create flattering faces without fancy gear, so you can feel confident right away.
Start by noticing window direction, because it changes how shadows fall and how much shape the face gets. Then place your subject close enough to catch brightness, but not so close that highlights look too strong. Sheer curtains add natural diffusion, which makes skin look smoother and more welcoming.
- Face the window for even, gentle light.
- Turn slightly sideways for more depth and shape.
- Watch the eyes, because bright catchlights make portraits feel alive.
If the light seems weak, move your subject nearer. You belong in this process, and practice makes it feel natural fast.
Shape Light With Simple Modifiers
Window light gives you a strong starting point, and simple modifiers help you take control at the moment the light needs a little shaping. You don’t need a studio full of gear to feel like you belong behind the camera.
A diffuser softens harsh light, so skin looks smoother and shadows stay gentle. In case you want more drama, pull the diffuser away and let harder light define texture.
Next, use barn doors to narrow the beam and keep light off the background. That gives your subject cleaner shape and stronger focus.
You can also add color gels whenever a scene feels flat or emotionally cold. A warm gel makes portraits feel welcoming, while blue adds mood.
As you practice, you’ll see small changes matter, and that growing control helps you feel confident with every shot.
Bounce Light With a Reflector
Supposing your shadows look too deep, a reflector gives you a quick, gentle fix without adding another light. You can use it to lift dark areas, keep skin natural, and make your setup feel more balanced.
That means you don’t need fancy gear to create a welcoming look.
- Pick the right reflector materials. White gives soft fill, silver adds brighter punch, and gold warms skin tones.
- Test bounce angles. Tilt the reflector until light reaches the shadow side without making highlights look harsh.
- Move it closer for stronger fill, or farther away for a lighter touch that still feels natural.
As you practice, you’ll see how reflectors work like a friendly helper on set. They’re simple, affordable, and great for learning how light shapes faces and details.
Start Using Flash the Simple Way
Flash can feel tricky initially, but you can keep it simple through learning how flash exposure changes your subject while your camera settings shape the background.
From there, you can point your flash at a wall or ceiling and bounce the light to make it softer, more even, and far more flattering.
Once you try these two basics together, you’ll get cleaner photos fast and feel much more in control.
Flash Exposure Basics
How do you make flash feel simple instead of stressful? You start through understanding what controls flash exposure. You belong here, even although flash feels new. Your camera exposure still matters, but flash adds its own burst of light.
Shutter speed affects ambient light until you hit flash sync. Aperture and ISO affect both ambient and flash brightness. Flash power changes only the burst.
- Set shutter below flash sync speed.
- Choose aperture for subject brightness and depth.
- Raise or lower flash power for clean balance.
Then watch flash recycling. In case your flash needs time to recharge, the next shot might look dim. Give it a second, or lower power.
As you practice, you’ll notice a pattern. Small changes create clear results, and that makes flash feel friendly, not fussy, for everyone.
Bounce Flash Techniques
For an easy initial step, point your flash at a nearby ceiling or wall instead of straight at your subject. You’ll turn harsh light into softer light that feels more natural and welcoming. That matters whenever you want portraits that help people feel relaxed and included, not startled like deer at a family reunion.
Next, watch your flash angle. A slight tilt changes where the light spreads and how shadows fall across faces.
Then check bounce distance, because farther surfaces weaken light and can add color casts from paint. White or neutral ceilings work best.
As you practice, move closer, rotate the flash head, and review each shot. You’ll quickly learn how rooms shape light.
Soon, bounce flash will feel like part of your creative circle, not some mysterious camera club secret at any point.
Avoid Common Lighting Mistakes
Should your lighting feels off, the problem usually comes from a few simple mistakes you’re able to fix fast. You’re not alone here. Every beginner hits the same bumps, and once you spot them, your photos start feeling more polished and more like you belong behind the camera.
- Watch for overexposed highlights on skin, clothes, or shiny objects. Lower power, move the light back, or diffuse it.
- Fix uneven shadows through checking light angle. A raised 45 degree position usually looks more natural than eye-level light.
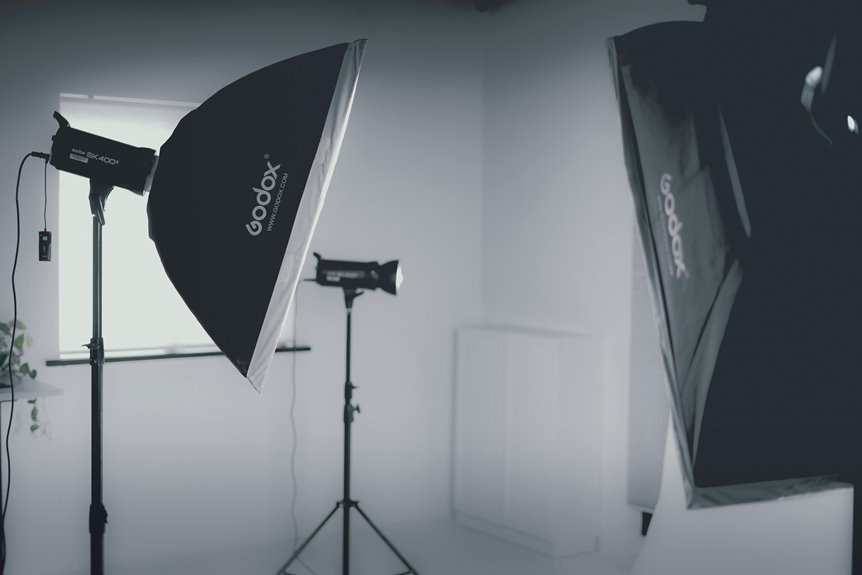
- Don’t mix hard and soft light without a plan. Use a softbox or reflector so your key and fill work together.
Also, scan the background. Bad backlighting can flatten your subject or cause distraction. Small changes build confidence fast, and your results will show it.
Frequently Asked Questions
How Much Light Power Do I Need for Full-Body Portraits?
Full body portraits usually need about four times more light output than close ups. Begin at a medium power setting, then fine tune based on subject distance, light modifiers, and background brightness. A few test frames will show you exactly where to adjust.
What Is a Basic Three-Point Lighting Setup for Beginners?
A basic three point lighting setup uses three lights: a key light, a fill light, and a backlight. The key light provides the main illumination, the fill light softens shadows, and the backlight helps separate the subject from the background for a cleaner portrait.
Are LED Panels or Speedlites Better for Starting Out?
LED panels are often easier for beginners because you can see the light as you adjust it and change color temperature with little effort. Speedlites make more sense if you need stronger output and batteries that last longer between changes. Both options help you practice lighting and grow your creative confidence.
Where Should I Place Lights for the Most Flattering Portrait Angle?
Place your key light slightly above eye level and 45 degrees to one side of the face. This creates sculpted features and controlled shadows. Use fill light or window light on the opposite side to soften contrast. Keep the backlight gentle so the subject stands out from the background.
Do I Need a Tripod When Shooting in Low Light?
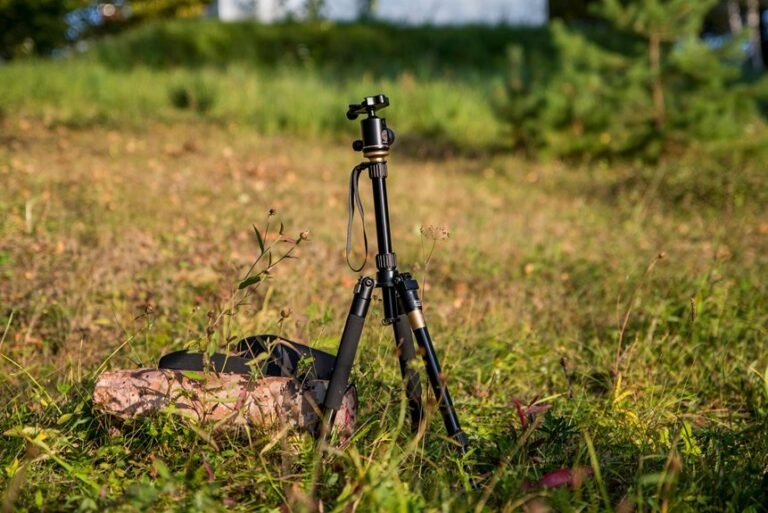
In low light, a tripod is usually necessary because it keeps the camera steady during slower shutter speeds and gives you more control over the exposure. It helps you capture sharper images and makes it easier to produce clean, reliable results.