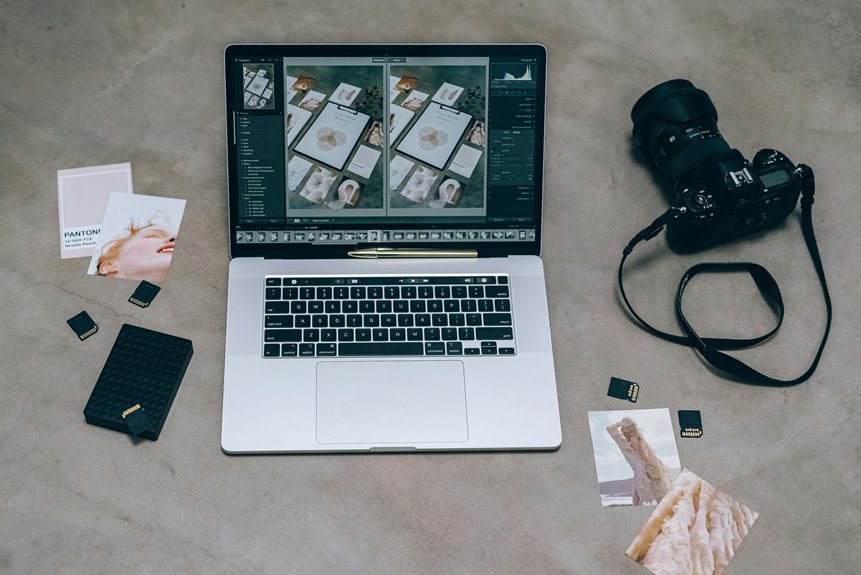

A clean RAW photo import workflow starts with a simple system. Use clear folders, rename files right away, add metadata, and back everything up as the photos come in. Build Smart Previews and apply presets during import to save time later. A tidy start makes editing faster, calmer, and a lot less messy.
Choose a RAW Photo Folder System
Once you choose a clear RAW photo folder system from the start, every import feels easier and a lot less stressful. You know where files belong, and that calm matters whenever you’re sorting hundreds of images after a long shoot.
Start with a simple folder hierarchy that matches how you already believe. Create main folders based on year, like RAW 2026, then add dated shoot folders inside. That date organization keeps sessions in order and helps you find work fast.
In case you shoot for clients, add a short name or location after the date. You can also separate personal work, paid jobs, and in-progress edits into clear root folders.
This way, your library feels shared, steady, and easy to trust. You stay connected to your workflow, not buried in digital chaos every week.
Back Up Your RAW Files During Import
Because memory cards can fail without warning, you should create a second copy of your RAW files during import, not later once you’re tired and more likely to forget. That one habit protects your work and helps you feel in control from the start.
In Lightroom’s Import dialog, choose your main destination, then enable a second copy on another drive. That gives you dual backups before you even begin culling or editing.
Next, use import verification so you know files copied correctly and completely. Keep the photos on the card until you confirm both copies exist. Then, after everything checks out, reformat the card in camera for a clean reset.
This simple routine builds trust in your workflow. You’re not being overly careful. You’re working like someone who plans to keep every hard-earned frame safe for years.
Rename RAW Files Before Editing
While your shoot is still fresh in your mind, rename your RAW files before you start culling or editing so every image has a clear, searchable identity. You’ll move faster whenever each photo tells you where it belongs. A name like SmithWedding_2026_001 feels far more useful than DSC_4387.
From there, build naming conventions you can trust on every job. Include the date, client, location, or session type, then add a sequence number to keep files in order. This simple habit helps you stay grounded whenever folders grow and deadlines feel loud.
It also makes file versioning easier later, because you can spot originals, selects, and finals without second guessing. When your files speak the same language, your workflow feels calmer, more connected, and a lot less like digital hide-and-seek after long editing nights.
Add Metadata When You Import RAW Photos
If you add metadata during import, you protect your work from the start and make your library much easier to search later.
You should apply your copyright metadata right away, then add keywords like client names, locations, and shoot details while everything’s still fresh in your mind. That small step saves you time, cuts stress, and helps you find the right RAW files without playing hide-and-seek with your photos afterwards.
Apply Copyright Metadata
Although import speed and storage often get the most attention, adding copyright metadata during import protects your work from the very initial step. You set ownership details before files spread across drives, backups, and shared folders.
That simple habit helps copyright enforcement and supports your intellectual property in case images travel farther than planned.
Just as folder structure keeps your library orderly, copyright presets keep your identity attached to every RAW file. In Lightroom, you can save a metadata preset with your name, copyright notice, website, and contact details, then apply it automatically at import.
That means you won’t forget it later whenever you’re tired or rushing. It also gives clients, teammates, and future you a clear record of authorship. Your workflow feels more complete, more professional, and more like it truly belongs to you.
Add Keywords Early
Because searching thousands of RAW files later can turn into a real headache, you should add keywords during import, right at the moment each shoot enters Lightroom. That small step helps you stay connected to your work and find images fast once deadlines hit.
Use initial keywords that match how you actually search. Add client names, locations, event types, and seasons. Should you shoot families, weddings, or travel, build words your future self will trust.
Good keyword placement matters too. Put broad terms on the full shoot, then add more specific tags to select frames afterwards. This keeps your catalog tidy without slowing you down.
In the same import pass, you create a system that feels familiar, shared, and easy to return to. Your archive starts working with you, not against you.
Build Smart Previews for Faster Culling
Before you start sorting through hundreds of RAW files, build Smart Previews so Lightroom feels quick and easy instead of slow and frustrating. You’ll move through your shoot with less lag, less doubt, and more confidence. That matters whenever you want to stay in the creative flow with the rest of your team.
Smart Previews create smaller DNG versions of your files, so Lightroom responds faster while keeping your edits flexible. That enhancement improves preview caching and gives you better culling speed, especially on laptops or full cards.
As you rate, compare, and reject images, each click feels more immediate. You’re not waiting on full RAW files to load, and that keeps your eye sharp. In other words, you spend more time choosing your strongest frames and less time watching Lightroom ponder.
Use Import Presets for Consistent Edits
After you build Smart Previews for faster culling, you can save even more time through creating reusable import presets. You can apply those presets automatically, so every RAW file starts with the same metadata, keywords, and base edit settings.
That gives you a clean, consistent starting point, and it helps your workflow feel smoother from the initial click.
Build Reusable Import Presets
While your import routine could feel small, building reusable import presets can save you time, keep your edits consistent, and lower the stress that comes with sorting a big RAW shoot.
At the moment you save your preferred destination folder, file naming, metadata, and keywords into one preset, you create a workflow that feels steady and familiar every time.
That consistency matters because import automation removes repeat clicks, and preset customization lets you match different jobs without rebuilding everything from scratch.
You can make presets for weddings, travel, client work, or personal projects, then adjust details like dated folders, copyright info, and location tags.
As your library grows, these saved settings help you stay organized, feel more in control, and work like part of a trusted creative rhythm, not a one-time scramble each session.
Apply Presets Automatically
Once you’ve built a solid import preset, the next step is letting Lightroom apply it automatically so every RAW file starts with the same clean foundation. That means you spend less time repeating clicks and more time creating images that feel like yours. Better yet, your catalog stays consistent, which helps you feel in control from the initial import.
- Choose your preset in the Import dialog’s Apply During Import panel.
- Include metadata, keywords, and basic tonal tweaks to automate adjustments.
- Use batch processing so large shoots come in organized and ready to review.
- Keep presets subtle, so every file stays flexible for later editing.
As you import, Lightroom handles the setup for you. You’re not starting over each time. You’re building a workflow you can trust, and that trust helps you stay in your creative rhythm.
Clean Up Your RAW Catalog Regularly
Because your RAW catalog grows faster than you believe, regular cleanup keeps Lightroom quick, your storage under control, and your editing workflow far less stressful. You stay in rhythm whenever you cull rejects, rate keepers, and handle duplicate removal before clutter piles up. That simple habit helps your whole photo community feel more organized and confident.
| Task | Why it matters | At which point |
|---|---|---|
| Remove duplicates | Saves space fast | Weekly |
| Check keywords | Improves search | After import |
Next, protect trust in your archive with metadata validation. Confirm dates, client names, and locations while each shoot is still fresh in your mind. Then move finished work into yearly catalogs, keep one original RAW and one final image, and delete dead previews. Your catalog feels lighter, and you do too each editing session.
Frequently Asked Questions
Should I Delete RAW Files From the Memory Card After Importing?
No. Leave the RAW files on the memory card after import until your backups are confirmed. Once the files exist in at least two verified locations, format the card in the camera. That approach reduces the chance of accidental loss and keeps your workflow orderly.
Is RAID Storage Enough, or Do I Still Need Separate Backups?
No, you still need separate backups. RAID helps keep your group’s photos available when a drive fails, but it does not protect against accidental deletion, theft, file corruption, or fire and flood damage. Use RAID for redundancy and keep separate backups for real protection.
When Should I Use Photoshop Instead of Staying in Lightroom?
Use Photoshop for layer masks, detailed retouching, composites, and exact pixel level changes. Use Lightroom for sorting, RAW processing, exposure and color adjustments, and batch edits. This keeps editing organized while giving you access to both speed and precision.
What’s the Best Way to Reduce Noise in High ISO RAW Files?
For the cleanest high ISO RAW files, start with noise reduction in DxO PureRAW 4, then refine it selectively. This approach helps retain fine detail, improves ISO performance, and keeps later edits cleaner.
Should I Keep TIFF Exports, or Only the Original RAW Files?
Keep the original RAW files, and save only the TIFF exports you actually use. RAW files preserve the most image data and give you the widest editing control later. TIFFs are useful for finished work, printing, or files that need maximum quality, but keeping every export quickly consumes storage. This approach protects image quality, leaves room for future re edits, and keeps your archive easier to manage.