
Great travel photos come from a few simple habits, not fancy gear. Pay attention to light, timing, composition, and the small moments happening around you. A steady shot, a better angle, quick edits, and solid backups can turn average photos into favorites. This guide shares 10 easy tips to help you take better pictures on every trip.
Use Better Light for Travel Photos
Even though you have an incredible view in front of you, harsh or flat light can make the photo feel dull, so learning to notice light initially will change your travel shots fast. Whenever you pay attention to where light falls, your images feel warmer, richer, and more alive, like they truly belong in your story.
Start starting at a point where the sun sits off to the side or behind your subject. Side lighting adds shape, texture, and depth without much effort.
In case the scene feels too bright or patchy, step into shaded conditions for softer, steadier results. Shade helps faces, buildings, and market details look natural and calm.
On cloudy days, watch how passing clouds soften contrast and make colors gentler. Then experiment with shadows too, because they can add drama, mystery, and a sense of place.
Shoot Early or Late for Softer Light
During the moment you head out at sunrise or stay out until the last light of day, your photos usually look softer, calmer, and far more inviting. You get gentler contrast, smoother skin tones, and a scene that feels welcoming instead of harsh. That softer light helps you capture places the way they felt while you were there, which matters whenever you want your images to feel shared and memorable.
In the morning glow, streets feel fresh and quiet, so you can work with more ease. Later, evening hues bring warmth and depth that make ordinary views feel special.
Try placing the sun off to the side or slightly behind your subject for a natural rim of light. Should clouds move in, wait a moment. You’re not chasing perfection, you’re joining the rhythm of the place.
Use Simple Composition to Improve Photos
As the light starts to work in your favor, composition becomes the next step that turns a quick snapshot into a photo that feels clear and intentional.
Once you know what belongs in the frame, your images feel calmer, stronger, and easier for others to connect with.
- Pick one main subject initially, then remove extras that compete for attention. This creates clean framing and helps your story feel easy to read.
- Use foreground simplicity to guide the eye inward. A path, table edge, or quiet shoreline can add depth without making the scene feel busy.
- Build layers with a clear middle ground and background. Then place your subject with care, using natural lines or the rule of thirds.
You don’t need complicated tricks. You just need a frame that feels welcoming, balanced, and true.
Change Your Angle for Better Shots
Why stay at eye level once a small shift can make the whole scene feel fresh? Whenever you move your camera, you invite viewers into the moment with you. Crouch for low angles to make buildings feel bold. Step higher for overhead viewpoints that simplify busy markets, meals, or patterned streets. Even a small lean left or right can clean up distractions and strengthen your main subject.
| Angle | Effect |
|---|---|
| Low angles | Add power and depth |
| Overhead perspectives | Simplify shapes and lines |
As you build stronger composition, angle becomes your next creative tool. Look for foreground details, then tilt or lower your frame to create three layers. In case light feels harsh, shift your position and use shade. You don’t need fancy gear. You just need curiosity, confidence, and a willingness to see like a traveler who belongs.
Add People to Bring Photos to Life
At the moment you add a person to your frame, the photo instantly feels more real, more alive, and easier to connect with. You give viewers someone to step beside, so the scene feels welcoming instead of distant. A person also creates scale reference, helping mountains, streets, and markets feel true to size.
To make that human element work, keep it simple:
- Place your subject small in wide scenes so the setting still leads.
- Capture natural actions, like walking, looking around, or waiting, because they feel honest and familiar.
- Position people where they strengthen your composition and guide the eye.
This shift also builds emotion. You aren’t just showing a place. You’re showing what it feels like to belong there, even for one quiet, shared moment on the road together.
Capture Local Details Beyond Landmarks
While famous landmarks grab attention initially, the small local details often hold the real feeling of a place.
As soon as you notice painted doorways, market signs, worn steps, and café cups, you begin to photograph what locals live with every day. That helps your images feel warmer, more personal, and easier for others to connect with.
Tell a Travel Story With Shot Variety
Because a strong travel photo story needs more than one beautiful frame, you should capture a mix of wide scenes, medium views, close details, and human moments that work together like pages in a journal.
That variety helps people feel like they were there with you, not just looking at a postcard. As you move through a place, consider narrative pacing and how each image adds background, feeling, or surprise.
Your lens choices matter too, since different views shape how your story feels.
- Start wide to show the setting and mood.
- Move closer for food, textures, signs, and small rituals.
- Include people laughing, working, walking, or waiting.
When you build a sequence this way, your gallery feels warm, real, and welcoming, like a shared memory your community can step into together.
Keep Travel Photos Sharp and Steady
Once your hands are tired and the light is fading, sharp photos can still happen provided you slow down and build a steady shooting habit. Plant your feet, tuck your elbows in, and exhale before pressing the shutter. That small pause helps you feel in control, even in a busy place.
Next, watch your shutter speed so your camera doesn’t record shake. Should your scene be dim, raise ISO or lean against a wall, railing, or doorway for support.
Whenever you can, use tripod usage to lock in detail for night streets, interiors, and self-portraits. Also, tap the screen gently or use a timer to avoid jostling the camera.
With a steady routine, you’ll come home with cleaner images that feel as solid and confident as the trip itself, every time.
Edit Travel Photos for Consistent Mood
Sharp photos give you a strong starting point, and editing helps them feel like they belong to the same trip instead of a random stack of memories.
Whenever you shape every image with a similar look, your gallery feels warm, connected, and truly yours. Start simple, then repeat your choices throughout the set.
- Set white balance initially so skin, skies, and streets feel natural together.
- Use color grading to give sunsets, markets, and hotel corners the same emotional pull.
- Adjust exposure, contrast, and shadows with tonal consistency, so bright beaches and dark cafes still fit side alongside.
As you edit, trust the mood you felt there. Keep colors honest, crop with purpose, and avoid heavy effects.
That way, your photos feel welcoming, familiar, and part of one shared story your friends will instantly feel too.
Back Up Travel Photos While Traveling
While travel days move fast and memory cards fill even faster, backing up your photos on the road gives you real peace of mind. You don’t want one lost bag, broken phone, or damaged card to erase moments your community will love sharing with you later.
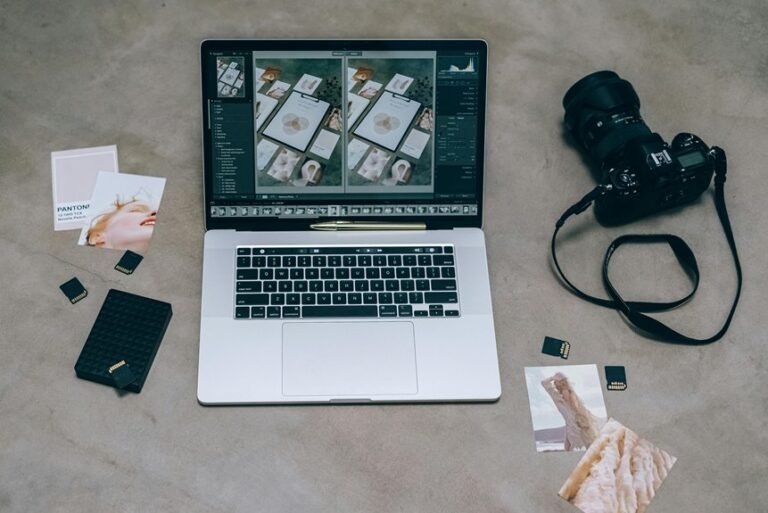
| Backup tool | Why it helps |
|---|---|
| cloud storage | Uploads favorites daily whenever Wi-Fi is steady |
| portable drives | Saves full folders fast without needing internet |
To stay safe, copy files every night, not someday. Keep one backup in cloud storage and another on portable drives, so you’re covered from both theft and tech failure. Also, don’t format cards until you confirm each backup opens correctly. In case you are traveling with friends, trade a drive for extra safety. That small routine helps you keep every story, every face, and every hard-earned shot.
Frequently Asked Questions
What Camera Gear Is Best for Beginner Travel Photographers?
Start with a compact mirrorless camera, a versatile zoom lens, one or two budget friendly lenses, spare batteries, and a light tripod. This setup keeps your bag manageable, lets you shoot in RAW, and helps you capture clear, memorable travel photos without spending too much.
How Can I Protect My Camera From Rain, Sand, and Theft?
Pack a fitted rain cover and airtight pouches, then shield the camera early when weather turns. For sand, keep lens changes to a minimum and use a blower plus soft brush before wiping. Reduce theft risk with plain straps, closed bags, and steady attention to where your gear is at all times.
Do I Need Permission to Photograph People in Foreign Countries?
In many places, yes. Before photographing people abroad, learn the local rules and pay close attention to social customs. A polite request, an awareness of what is appropriate, and immediate respect for a refusal can prevent tension and show genuine consideration.
How Should I Organize Travel Photos by Location and Date?
Sort travel photos into folders by country, then city, then date, and keep the images in time order inside each folder. Add location tags, rename files with one clear pattern, and build shared albums so specific moments are easy to find later.
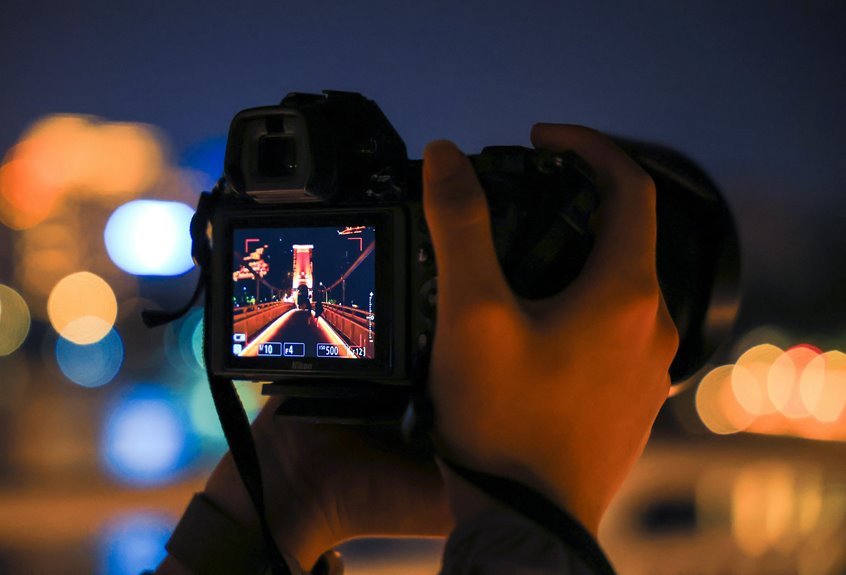
What Are the Best Camera Settings for Night Street Photography?
For night street photography, use manual mode, raise ISO as needed, open the aperture wide, and lower the shutter speed carefully. If autofocus starts to struggle, switch to manual focus. These settings help you record low light scenes with clear detail, motion, and atmosphere.