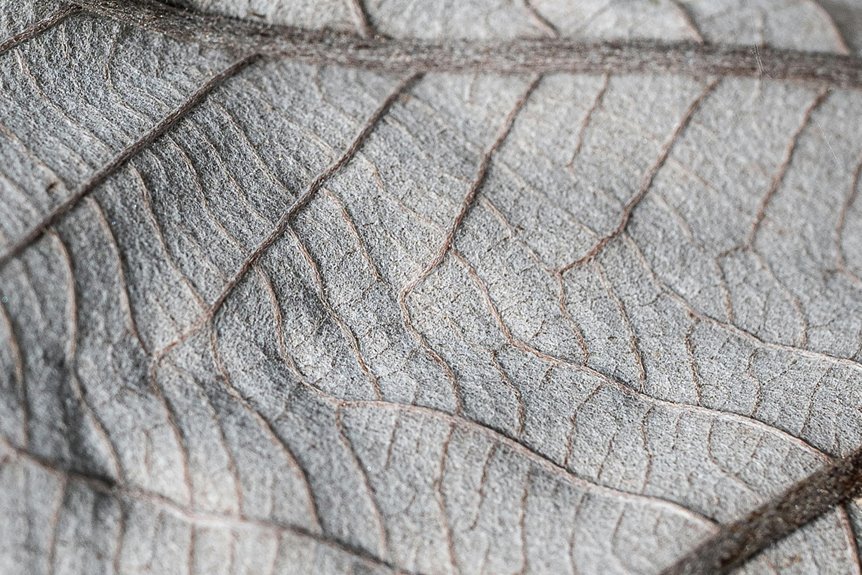

Macro photos look crisp and textured with the right setup and a little patience. A true macro lens, steady focus, and soft light help tiny details stand out. Your aperture, shooting angle, and background all shape the final shot. These nine tips will help your close-up images feel sharper, richer, and more eye-catching.
Choose the Right Macro Lens
How do you pick the right macro lens once every tiny detail suddenly matters? You start with lens compatibility, because feeling confident with your camera setup helps you create like you belong here. Check your mount initially, then choose a true macro lens with 1:1 magnification in case you want life-size detail. Should your budget feel tight, a 1:2 option can still bring you close.
Next, consider focal length and how you like to work. A shorter lens suits tabletop scenes and tight spaces. A longer lens gives you more room for insects, jewelry, or anything skittish.
Manual focus also matters, since it lets you place sharpness exactly where you want it. With the right lens, your close-up work feels less intimidating and a lot more like home.
Set the Best Aperture for Macro
Once you set your aperture for macro, you need to balance depth of field with diffraction, because more sharpness isn’t always better. Start around f/8, then adjust based on your subject, since a flower, insect, or textured surface each needs a different amount of focus.
Provided only a thin slice looks sharp or the whole image starts to soften, you’re close to the point where your aperture needs a smarter fit.
Balance Depth And Diffraction
Although it’s tempting to stop down to F/16 or smaller for more sharpness, macro photography works best as you balance extra depth of field against diffraction, which can soften fine detail. That aperture tradeoff matters because diffraction effects can make crisp texture look slightly mushy, even whenever more of the subject seems in focus.
A strong starting point is F/8 or F/11, where many macro lenses give you a useful middle ground. From there, you can check your image closely and adjust with purpose, not guesswork.
In case your texture still falls out of focus, close down a little. Should detail looks less crisp, open up a step. You’re learning what your lens does, and that puts you in the club of photographers who notice the small things and make them shine beautifully.
Match Aperture To Subject
Now that you’ve seen why smaller apertures aren’t always better, the next step is to match your f-stop to the subject in front of you.
Flat textures, like fabric or paper, often look great around f/8 to f/11 because you keep more detail sharp without inviting too much diffraction.
Whenever your subject has depth, like a flower center, mushroom gills, or jewelry, choose based on what you want your viewers to feel.
A wider setting like f/2.8 or f/4 creates stronger aperture effects, softens distractions, and helps one detail stand out. That works especially well whenever subject contrast is high.
In case the form is layered and you want more of it crisp, stop down gradually and check focus. You’re not guessing here. You’re learning to see like the macro photographers you belong with.
Get Sharp Focus in Macro Photos
Because macro work magnifies even the tiniest movement, getting sharp focus takes a calm setup and a precise approach. You’ll get better results whenever you switch to manual focus and check sharpness through display zoom. Then place your focus on the most critical detail, like an insect’s eye or the edge of a petal.
Next, consider how your subject sits in the frame. In case you keep the camera sensor parallel to a flat surface, more of that surface stays sharp. As you refine focus, start around f/8 and adjust should the sharp area feels too thin.
For thicker subjects, use focus stacking to blend several focus points into one detailed image. That way, you stay in control, and your close-up photos look crisp, intentional, and beautifully true to what you saw.
Stabilize Your Camera for Sharp Shots
To keep your macro photos sharp, you need a sturdy tripod that holds your camera still. Even tiny movement can ruin fine detail, so use a self-timer or mirror lock-up to cut camera shake.
Whenever your camera stays steady, you can shoot at slower shutter speeds and still get the crisp shot you want.
Use A Sturdy Tripod
While macro shots can look simple, even a tiny shake can blur the fine detail you worked so hard to frame, so a sturdy tripod quickly becomes one of your best tools. It gives you tripod stability whenever you’re working close, where every small movement feels huge. You stay in control, and that confidence helps you feel like you truly belong behind the camera.
Choose a tripod with solid legs, a firm head, and reliable locks. That setup supports careful framing and precise manual focus without fighting your gear.
In case you shoot on uneven ground, spread the legs wide and keep the center column low for better balance. Look for vibration dampening materials or features, especially during outdoor shoots. A sturdy tripod also lets you compose patiently, refine angles, and capture texture with the crisp detail your subject deserves.
Minimize Camera Shake
Even with a sturdy tripod under your camera, tiny vibrations can still soften a macro photo, and that can feel frustrating just as your focus looked perfect a second earlier. You’re in good company because every close-up photographer runs into this.
To keep your images crisp, stop touching the camera during exposure. Use a self-timer, remote release, or manual shutter whenever possible.
Next, reduce movement inside the camera itself. In case you shoot with an SLR, turn on mirror lock up before the shot. That small step helps more than many beginners expect.
Also, work on steady ground, shield your setup from wind, and avoid bumping the tripod legs. Once light is low, these habits matter even more.
With each careful adjustment, you join the group of photographers who make tiny details look beautifully sharp every time.
Light Macro Subjects Softly
Because macro photos magnify every tiny bump and edge, soft light gives you a kinder, cleaner way to show detail without letting harsh shadows take over. Start with soft lighting from a window, a light tent, or a thin white cloth over your lamp. That diffuse illumination wraps around tiny subjects and smooths rough contrast.
Then, move your light closer and watch how the scene changes. You don’t need a fancy setup to belong here. A simple sheet of paper can bounce light back into dark spots. A small diffuser can calm shiny surfaces on jewelry, watches, or cutlery.
Provided you’re outdoors, work under open shade or on a cloudy day for an easy glow. Keep checking highlights as you shoot, because gentle light helps your subject feel rich, natural, and inviting to every viewer.
Compose for Texture and Detail
In the moment you compose a macro photo for texture and detail, your frame needs to guide the eye straight to the most interesting surface, edge, or pattern. Move in close, then trim away distractions so the texture feels inviting and clear.
You want viewers to feel like they’re right there with you, part of the moment, noticing what others miss.
- Place your sharpest detail where attention lands initially, then let softer areas support texture layering.
- Use ambient contrast to separate the subject from nearby tones, helping every ridge, fiber, or scratch stand out.
- Keep your camera angle intentional. A parallel view can hold detail across a surface, while a slight tilt adds depth without losing control.
As you refine the frame, trust your eye. Small shifts often turn a good shot into one that truly connects.
Photograph Patterns and Repetition
Patterns pull people in fast, and macro photography lets you show that rhythm in a way that feels fresh and almost hypnotic. As you move in close, everyday surfaces start to feel like part of a shared visual language. Textiles, cutlery, watches, and food can reveal uniform patterns that look striking and welcoming.
To make repetition stand out, keep your camera parallel to the surface and use a narrower aperture like f/8 or f/11. That helps more of the pattern stay sharp. Then fine-tune focus manually so the repeating lines feel crisp and intentional.
Look for repetitive motifs in petals, woven fibers, mushroom gills, or stamped metal. Small shifts in angle can turn a plain subject into something your audience connects with right away. That sense of order helps your images feel calm, familiar, and memorable too.
Control Backgrounds in Macro Shots
As you move in close, the background can get messy fast, so you need to control it before it steals attention from your subject.
That starts with noticing distracting elements before you press the shutter. You belong in this craft, and small choices make a big difference.
Try these moves:
- Change your angle so bright spots, hard lines, or clutter fall outside the frame.
- Use a wide aperture for stronger background blur whenever you want your subject to stand apart.
- Place distance between your subject and what’s behind it, since more space usually means a cleaner look.
You can also carry a small card, fabric scrap, or plain paper for simple backgrounds. At the moment you keep the scene calm, your details feel stronger, clearer, and more inviting to anyone viewing your work.
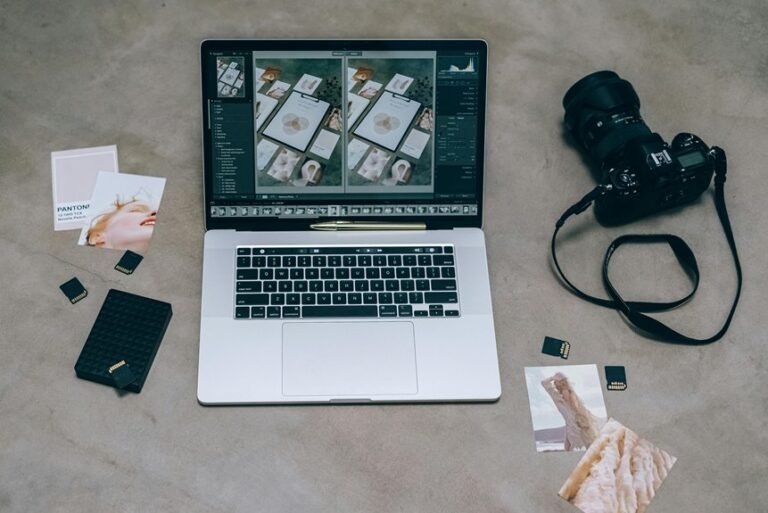
Edit Macro Photos for More Detail
Once you’ve captured a clean frame, editing helps you pull out the tiny details your eyes noticed in person. Start with color correction so the scene feels true, natural, and inviting. Then adjust exposure and contrast gently, because strong edits can make texture look fake.
Next, add clarity and selective sharpening to the parts you want your viewers to investigate. Use masks so crisp detail stays on the subject, not the background.
In case your photo shows grain, apply noise reduction with care. Too much can smear the fine texture you worked hard to capture.
As you refine the image, zoom in and check edges, highlights, and shadow detail. You’re shaping a photo that feels polished yet real, and that balance helps your work feel like it belongs with the best macro images.
Frequently Asked Questions
How Do I Photograph Live Insects Without Disturbing Them?
Move toward the insect in small, steady steps and keep your hands and camera motions quiet. Work in the early morning when cooler air slows movement, and photograph the insect where it has settled rather than trying to reposition it. Use side lighting, switch to manual focus, steady the camera with a tripod, and keep enough distance so the insect continues its normal behavior.
What Weather Conditions Are Best for Outdoor Macro Photography?
For outdoor macro photography, the best conditions are calm air, diffused light, and cloud cover. Bright sun often creates harsh contrast, while overcast skies reveal fine detail and gentle color transitions. Many macro photographers also head out after rain, when moisture adds texture and small subjects remain more still.
Can Smartphones Produce Good Macro Texture Photos?
Yes, smartphones can create sharp macro texture photos when paired with a macro lens, a stable setup, and controlled lighting. This approach brings out fine surface detail in everyday subjects and makes close up texture photography more rewarding.
How Do I Protect Gear From Moisture and Dirt Outdoors?
Yes, that approach works: protect outdoor gear with fitted rain covers, seal cameras in zip bags when conditions worsen, avoid changing lenses in wind or dust, keep silica packs in your bag to reduce moisture, and clean lenses carefully after the outing. That routine keeps equipment ready for the next trip.
When Should I Use Focus Stacking Instead of a Single Shot?
Use focus stacking when a single frame leaves parts of your subject soft from front to back. It works well for thicker subjects or close up scenes where depth of field is too limited. Choose a single shot when selective focus is part of the visual style you want.