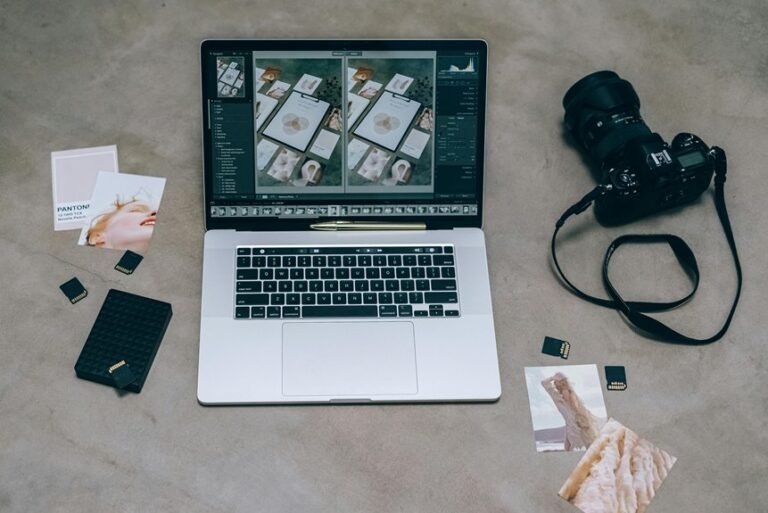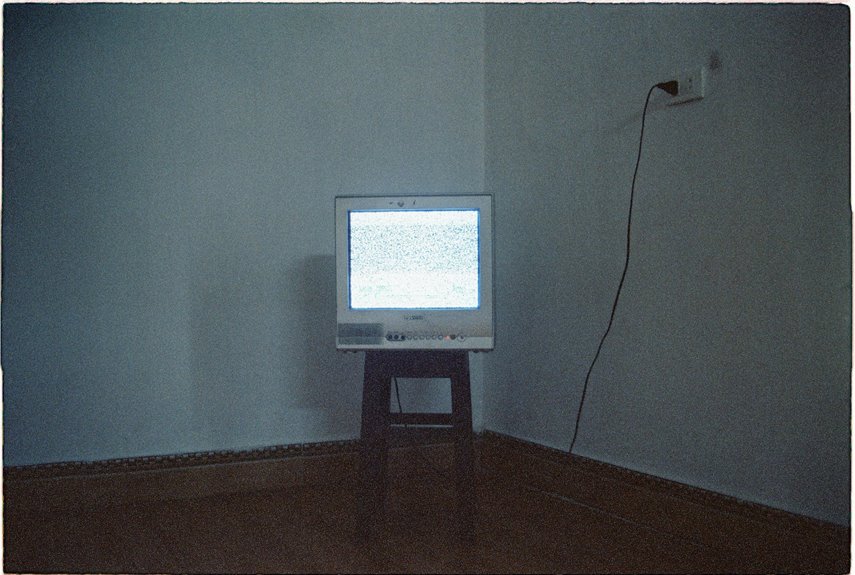

High ISO photos often look noisy, especially around ISO 6400 and above. You can reduce that noise by giving the sensor more light, choosing cleaner camera settings, shooting RAW, and editing with care. A few small changes during capture and post-processing can make a big difference. These seven tips will help your low-light images look cleaner and more polished.
Add More Exposure to Reduce Noise
In case you give your photo more exposure in camera, you usually get less noise, because the sensor captures a stronger signal from real light instead of forcing you to brighten dark areas later.
That matters because once you increase brightness after the shot, you also lift grain and rough texture. Instead, you can enhance exposure while shooting through slowing shutter speed, opening your aperture, or adding light. This helps your image stay cleaner and more natural.
You want the file to start strong, not struggle later at your desk. As you practice, you’ll observe shadows look smoother and colors feel richer. That’s a win every photographer in your circle can appreciate.
In low light, use a tripod or steady support so you can gather more light without pushing settings too far and inviting ugly speckles.
Expose to the Right
A brighter file in camera already helps, and Expose to the Right takes that idea one step further. You aim to maximize brightness without blowing crucial highlights. That means watching your highlight histogram and nudging exposure as far right as you safely can.
When you do this, your sensor gathers more useful light, so your photo starts with a stronger signal and less visible noise. You’re giving yourself a cleaner file before editing begins, which feels like joining the smart side of low light shooting.
Increase exposure with shutter speed, aperture, or ISO only as needed, then check the brightest areas. Should faces, clouds, or reflections start clipping, pull back slightly. With practice, you’ll read the histogram fast and trust what your camera shows you in tough scenes, even indoors.
Enable High ISO Noise Reduction
Once you’ve pushed exposure as far right as the scene allows, turn on your camera’s High ISO Noise Reduction to clean up the grain that still slips into dark areas. This setting helps you stay in the moment and still bring home files that feel more like your vision.
- Start with Standard, not High, so faces, fabric, and fine edges don’t turn waxy.
- Test your camera at ISO steps and save observations that match your camera profiles for trusted results.
- Check shadow areas at full zoom, because that’s where noise often sneaks into your shared photo story.
- Should your editor offer extra cleanup later, gentle layered refinements, including AI passes, work best after strong in-camera reduction.
You’re not chasing perfection. You’re building a reliable process your photography community understands and respects.
Shoot in RAW for Better Cleanup
Because RAW files keep far more image data than JPEGs, they give you much more room to clean up high ISO noise without tearing apart detail, skin texture, or smooth shadow tones. That matters whenever you want your photos to still feel like yours, not plastic or blotchy.
With stronger Data retention, you can recover highlights, open shadows, and hold fine texture that JPEGs often throw away. In turn, that extra information gives you real RAW flexibility as a dim scene pushes your camera hard.
You stay in control of color, contrast, and tonal shifts, which helps noisy areas look more natural from the start. Should you be photographing family, events, or your creative work, RAW helps you protect the moments that connect you to others. It gives your images a better foundation, and that foundation matters.
Denoise High ISO Photos in Post
As soon as high ISO noise still sneaks into your photo, post-processing gives you a calm, practical way to clean it up without wiping out the detail you worked so hard to capture.
When you edit, you join the same careful workflow many photographers trust. Begin small, then build:
- Zoom to 100% so you can judge noise honestly, not guess.
- Raise luminance reduction initially to smooth rough grain, then use detail and contrast sliders to keep texture alive.
- Increase color controls to remove color noise, especially in dark areas where red, green, and blue specks show up.
- Toggle before-and-after views often, so you stay balanced and don’t overdo it.
If one area looks worse than the rest, apply noise reduction locally. That way, your photo stays natural, and your editing feels confident, not chaotic.
Avoid Heavy Shadow Recovery and Cropping
Whenever you lift shadows too much, you bring concealed noise up with them, and that can make a high ISO photo fall apart fast.
Instead, you’ll get cleaner results provided you expose carefully in camera and keep shadow recovery gentle during editing. And once you crop too hard, you magnify noise even more, so it’s smarter to frame as tightly as you can before you press the shutter.
Minimize Shadow Lifting
Should you push shadows too far in editing, noise shows up fast and can turn a strong photo into a rough, gritty file. You want clean depth, not blotchy darkness, so lift shadows gently and protect the tones that help your image feel natural.
That helps your photo stay polished and keeps you in step with photographers who value clean files.
- Start with small shadow moves, then check texture at 100%.
- Use shadow suppression to calm noisy dark areas before they spread.
- Apply gradient masking to brighten only the zones that truly need help.
- Balance blacks and midtones together, so the frame still feels grounded.
As you edit, trust restraint. You don’t need to rescue every dark corner. Often, leaving some depth gives your image mood, realism, and a more confident finish altogether.
Crop Conservatively
Even though your high ISO shot looks sharp at initially, a heavy crop can make noise jump out fast, especially in dark areas you later try to brighten.
If you trim too much, you throw away image resolution and force tiny grain to look bigger. That can make an otherwise solid photo feel rough and thin.
Use Fast Lenses and Larger Sensors
Because your camera can only work with the light it gets, a fast lens and a larger sensor give you a real advantage before noise ever shows up. At the time you use fast apertures, you let in more light, so you won’t need to push ISO as hard. That keeps your files cleaner and gives you more room to edit with confidence.
- Choose lenses like f/1.8 or f/2.8 whenever light is tight.
- Trust bigger sensor size to gather more light per shot.
- Pair that extra light with proper exposure for smoother shadows.
- Use this setup in dim rooms, events, and night scenes.
That connection matters, because better light capture supports every other noise-control step you use. You’re not fighting the image later. You’re starting stronger, and that helps you feel more in control.
Frequently Asked Questions
Does High ISO Noise Affect Print Quality Differently Than Screen Viewing?
High ISO noise shows up differently in print than on screens because print resolution, viewing distance, and paper texture soften visible grain, while screens make pixel level color speckling and fine noise easier to see. Prints usually look cleaner when exposure is accurate and shadows are not lifted heavily later.
Can Temperature or Long Exposures Worsen Noise in High ISO Photos?
Yes. Higher sensor temperature and longer exposure times can increase visible noise, especially at high ISO settings. Heat raises random sensor activity, and longer captures give that noise more time to build up. Shorter exposures and brief cooling breaks between shots usually help preserve cleaner image quality.
How Much Noise Reduction Is Too Much for Preserving Skin Texture?
You have pushed noise reduction too far when pores disappear and skin starts to look waxy instead of real. Check the image at 100 percent zoom, raise luminance reduction in small steps, and use detail controls to keep fine texture visible. The right balance keeps skin clean without erasing its natural surface.
Are AI Denoising Tools Better Than Lightroom for High ISO Images?
Yes, AI denoising tools often produce cleaner high ISO images because deep learning preserves fine detail more effectively. Lightroom still has an advantage in processing speed, efficiency, and overall workflow. The better option depends on the specific photo and how you prefer to edit.
Should Noise Reduction Settings Vary by Camera Model and Sensor Size?
Yes, noise reduction should change based on camera model and sensor size because each sensor handles noise differently. Better results come from using camera specific calibration and adjusting luminance, color, and sharpening to match the files your camera produces.