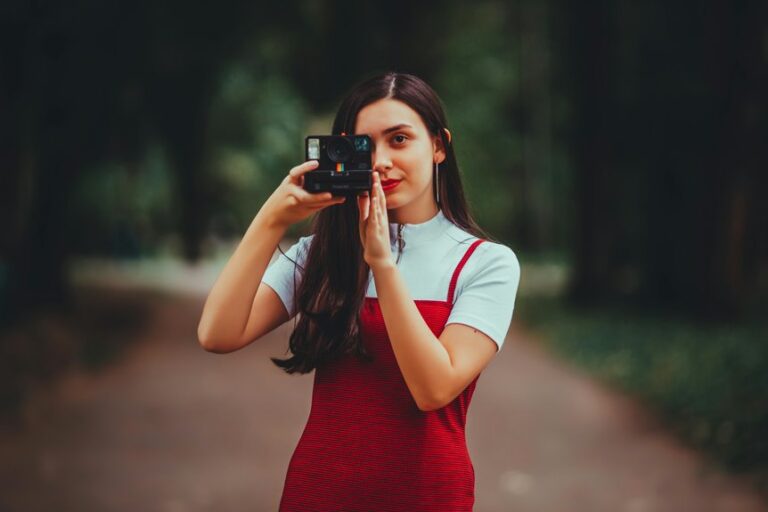
Great home portraits usually start with one thing: placing your subject near a window. A large north- or south-facing window often gives softer skin tones, gentler shadows, and a natural look without extra gear. Good timing and small angle changes can shift the feel of the photo fast. Curtains and reflectors add even more control, from bright and airy to soft and moody.
Choose the Best Window for Portraits
Which window gives you the best portraits at home? You’ll feel more confident once you start with a large window that gives soft, welcoming light.
In most homes, north or south facing windows are your safest choices because they help you avoid direct sun. That’s where east avoidance matters too, especially in case your room catches strong morning light. West windows can also turn harsh, so skip them whenever sunlight pours in.
Should your space feels tricky, an open doorway can work like a window and still help you belong to the light instead of fighting it.
Among all options, north consistency makes life easiest. You get steady light through the day, even though weather shifts.
And in case a window casts lovely patterns, you can use that character to give your portraits warmth and personality.
Time Window Light for Softer Portraits
Once you’ve picked the right window, the next step is timing your shoot so the light stays soft on your subject’s face. Early morning or late afternoon usually gives you the gentlest results, because the sun sits lower and feels less harsh. That’s why golden hour is such a favorite in our portrait-loving circle.
If midday is your only option, don’t worry, you still belong here. Watch for moments whenever clouds roll in and create diffused sunlight, which smooths skin and softens contrast. North-facing windows also help because their light stays steadier through the day.
As seasons change, your timing might shift, so test the light before you begin. A quick check helps you stay confident, avoid strong patches of sun, and create portraits that feel calm, warm, and beautifully natural indoors.
Position Your Subject Near Window Light
As you move your subject closer to the window, the light becomes stronger, more shaped, and far more emotional, so placement matters just as much as timing. That shift helps you create portraits that feel intimate and welcoming, like your subject truly belongs in the frame.
Start a few feet from the glass, then inch them closer while you watch how the shadows deepen and the features gain definition.
From there, test small changes instead of big jumps. A half step can change dramatic contrast, soften a cheek, or make eyes glow. Pay close attention to light angles, because turning a face slightly can alter the mood without changing the room.
In the event your subject gets too close, the light might turn patchy or harsh. Using a stand-in initially helps you find that sweet spot together.
Use Front Light for Clean Portraits
Should you want a portrait to feel bright, calm, and polished, front light is the easiest place to start. Have your subject face the window, and stand with your back to it. This gives you flat lighting that smooths skin, softens texture, and creates gentle portrait catchlights that feel open and welcoming. It’s a great choice whenever you want someone to look relaxed, seen, and fully part of the frame.
| Choice | Effect | Feeling |
|---|---|---|
| Face window | Even skin tones | Safe |
| Step back slightly | Softer shadows | Settled |
| Block other light | Cleaner color | Connected |
Keep them a little away from the glass so light stays even. As you fine-tune distance, you’ll notice the portrait feels more natural, like they truly belong there, with you.
Use Side Light for More Depth
Side light shifts the mood right away. Instead of lighting your whole face evenly, it shapes your features and gives your portrait more feeling.
You can stand beside the window at a slight angle, then turn your nose a little toward the light. That keeps the shadow side soft, not heavy. In the event you move closer, you’ll get stronger contrast and richer texture. In case you step back, the light wraps more gently.
To keep the look welcoming, watch the shadows on your cheek and under your eye. A white wall or reflector on the darker side can lift them. You can also try sheer curtains for softer edges.
Should you want a dreamy touch, side light works beautifully with lens flare, haze effects, or a Lensbaby style lens. It feels intimate, warm, and true.
Use Backlight for Moody Portraits
To use backlight, place your subject with the window behind them, then shift them a little until the glow outlines their face and shoulders.
From there, you can let the shadows stay deep and soft, which gives your portrait a moody, quiet feel without losing shape. Because bright window light can trick your camera, you’ll need to watch exposure carefully so your subject doesn’t turn too dark.
Backlight Placement Basics
In case you want a portrait to feel quiet, deep, and a little cinematic, backlight is a beautiful place to start. Place your subject between you and a bright window, then step slightly off center so the light wraps gently. Keep some distance from the glass to avoid harsh spill. Should the room feels flat, use reflective surfaces to bounce a soft touch forward, or light modifiers like sheer curtains to tame brightness.
| Placement | What you’ll notice |
|---|---|
| Window behind subject | A glowing outline appears |
| Subject 2 to 4 feet away | Light feels softer |
| You slightly angled | Depth looks more natural |
| Background kept simple | Mood stays intimate |
| Extra room lights off | Window glow stands alone |
This setup helps you create portraits that feel personal, calm, and truly yours.
Shape Mood With Shadows
As you use backlight for a moody portrait, shadows become part of the story, not a problem to fix. Whenever your subject stands with the window behind them, you can let darker areas add feeling, privacy, and depth. That choice helps your portrait feel honest, intimate, and beautifully human.
To shape that mood, turn your subject slightly so light wraps one edge of the face while the rest falls away softly. Then watch for shadow patterns from curtains, plants, or window frames. These details make the scene feel lived in, like a place you belong.
In case you want more tension, move your subject a bit closer to the window for dramatic contrast. Should you want gentler emotion, angle them until the shadows look softer, calmer, and more welcoming to viewers nearby.
Control Exposure Carefully
Backlight can look rich and emotional, but it also tricks your camera fast, so exposure needs your full attention. Whenever your subject stands before a bright window, your meter might darken their face too much. So, switch to manual mode and trust your eyes. Start with a wide aperture, then make each aperture adjustment with care whilst watching skin tones and window highlights.
| Goal | What you do | Why it helps |
|---|---|---|
| Save mood | Expose for face | Keeps feeling human |
| Hold detail | Lower ISO | Protects bright glass |
| Keep blur | Open lens | Softens the room |
| Stop shake | Raise shutter | Saves sharp eyes |
| Stay steady | Test, review | Builds confidence together |
As you practice, you’ll feel part of the portrait-making rhythm, not left out due to tricky light anymore.
Shape Window Light With Curtains
While a good window gives you the light, curtains let you shape it so it feels calm, soft, and intentional instead of flat or messy. Whenever you pull sheers across the glass, you create fabric diffusion that wraps your subject in a gentler glow, almost like the room is welcoming them in.
That control matters because small shifts change mood fast. Thicker panels narrow the beam and give you stronger direction. Sheers spread light wider and smooth skin tones. Pay attention to curtain texture too, since linen, voile, or net each soften light a little differently.
You can partly close one side to guide highlights across a face, or layer two fabrics for a more delicate feel. In case your space feels busy, curtains help the portrait feel settled, connected, and truly yours today.
Fix Common Window Light Issues
Even with a great window, natural light can still misbehave, so the next step involves learning how to spot small problems before they spoil a portrait. Start by checking the face initially. In case you see uneven shadows, move your subject slightly farther from the window or turn them a few degrees toward it.
Next, watch for harsh highlights on the forehead, nose, and cheekbones. A sheer curtain can soften the light fast, and a white wall or reflector on the opposite side can lift dark areas. Should mixed light creep in from another room, block it so your portrait keeps one clear direction.
Then test exposure by taking a frame and studying skin tone, not just the background. You’re building a look that feels calm, flattering, and beautifully consistent for everyone in the room.
Adapt Window Light for Kids and Pets
How do you keep beautiful window light while your subject won’t sit still for more than two seconds? You simplify the space, stay close to the window, and let movement become part of the story. Your goal isn’t perfect stillness. It’s a portrait that feels like them, and that helps everyone relax.
- Choose open floor space beside a large window for easy, natural movement.
- Use child friendly angles, like kneeling low or shooting slightly above tiny faces.
- Add pet safe props, like blankets, favorite toys, or a sturdy chair.
Then control distractions. Block mixed light from other windows, and keep shutter speed high for sharp eyes and paws. Should your subject move fast, step farther from the window for more even light.
You’ll create images that feel warm, honest, and beautifully familiar to everyone.
Frequently Asked Questions
Can I Use Window Light for Black-And-White Portraits?
Yes, window light works beautifully for black and white portraits because it shapes contrast and highlights texture. Stand near soft, indirect light for smooth tonal transitions, or move closer to the window for stronger shadows and a more sculpted look. This approach gives portraits a classic, intimate feel.
What Lens Works Best for Home Window Light Portraits?
For portraits by a home window, prime lenses usually give the strongest results, especially at 50mm or 85mm. Their wider apertures let in far more light than most kit zooms, which helps create smoother background blur, cleaner images in dim rooms, and more natural looking facial proportions.
How Do I Match Window Light Across Multiple Portrait Sessions?
Match window light by photographing at the same time of day, using the same north or south facing window, reducing other light sources, and keeping your subject the same distance from the window in every session. Check the color temperature each time so the portraits stay cohesive and clearly reflect your style.
Should I Use Reflectors or Mirrors With Window Portraits?
Use both when they solve different problems. A reflector lifts shadows and smooths contrast around the face. A mirror throws a brighter, tighter beam that can add definition or reach farther into the scene. Pick the surface by the effect you want and the texture of the light on skin.
Can Fog or Haze Improve Indoor Window Light Portraits?
Yes, fog or haze can enhance indoor window portraits by making light rays visible, softening contrast, and adding atmosphere. Use only a small amount so the effect stays refined and the portrait feels luminous and intimate.